

Jun
06
2013Testing the sound blimp I built here. Pardon the audio noise/hiss; I didn’t want to try to low-pass it out since it might mess with the comparison
May
21
2013Got almost all the way on the sound blimp project today; only the front window is left to finish! The Lexan turned out to be surprisingly clear, so I’m going to try using that for the front as well. I shot through it a few times and couldn’t tell the difference between that and without in the resulting photos, so it seems promising. It’ll certainly be a lot easier to cut it into a circle with my Dremel than actual glass! More rugged too.
-
- Using a 1:1 paper printout to get accurate measurements in 2D
-
- Fitting the wireless transmitter
-
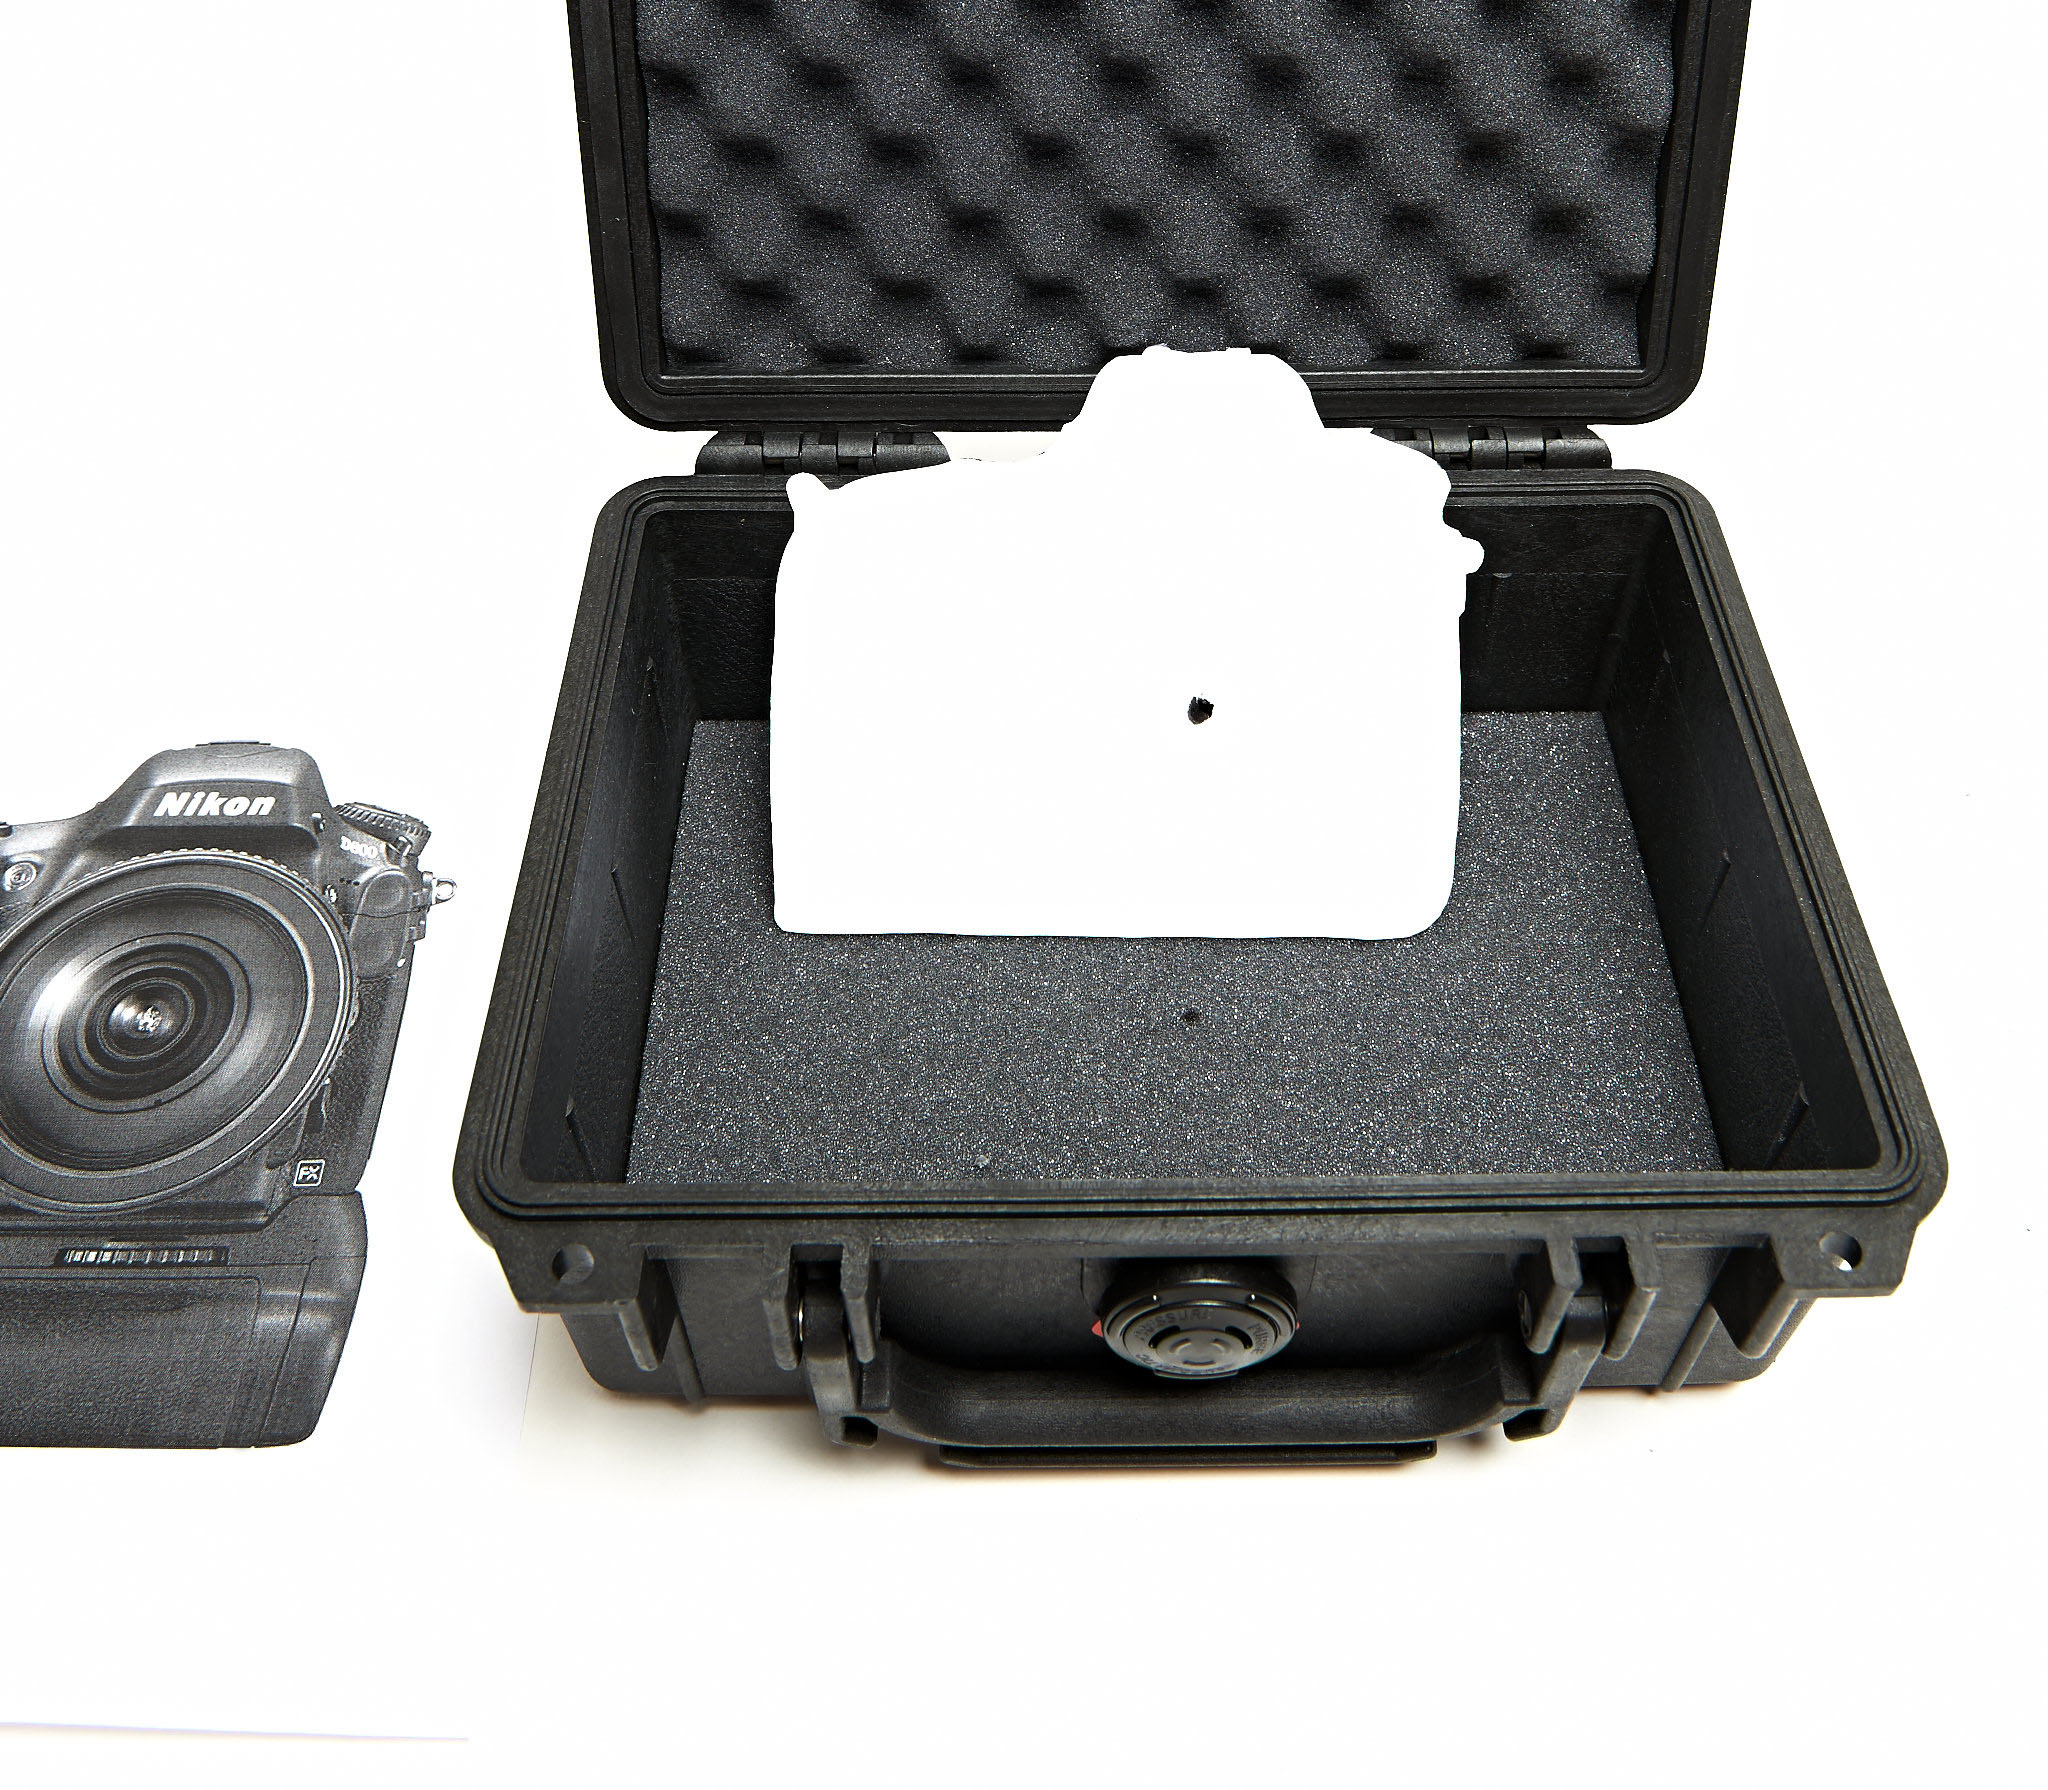
- Figuring out where the center of the lens tube will be
-
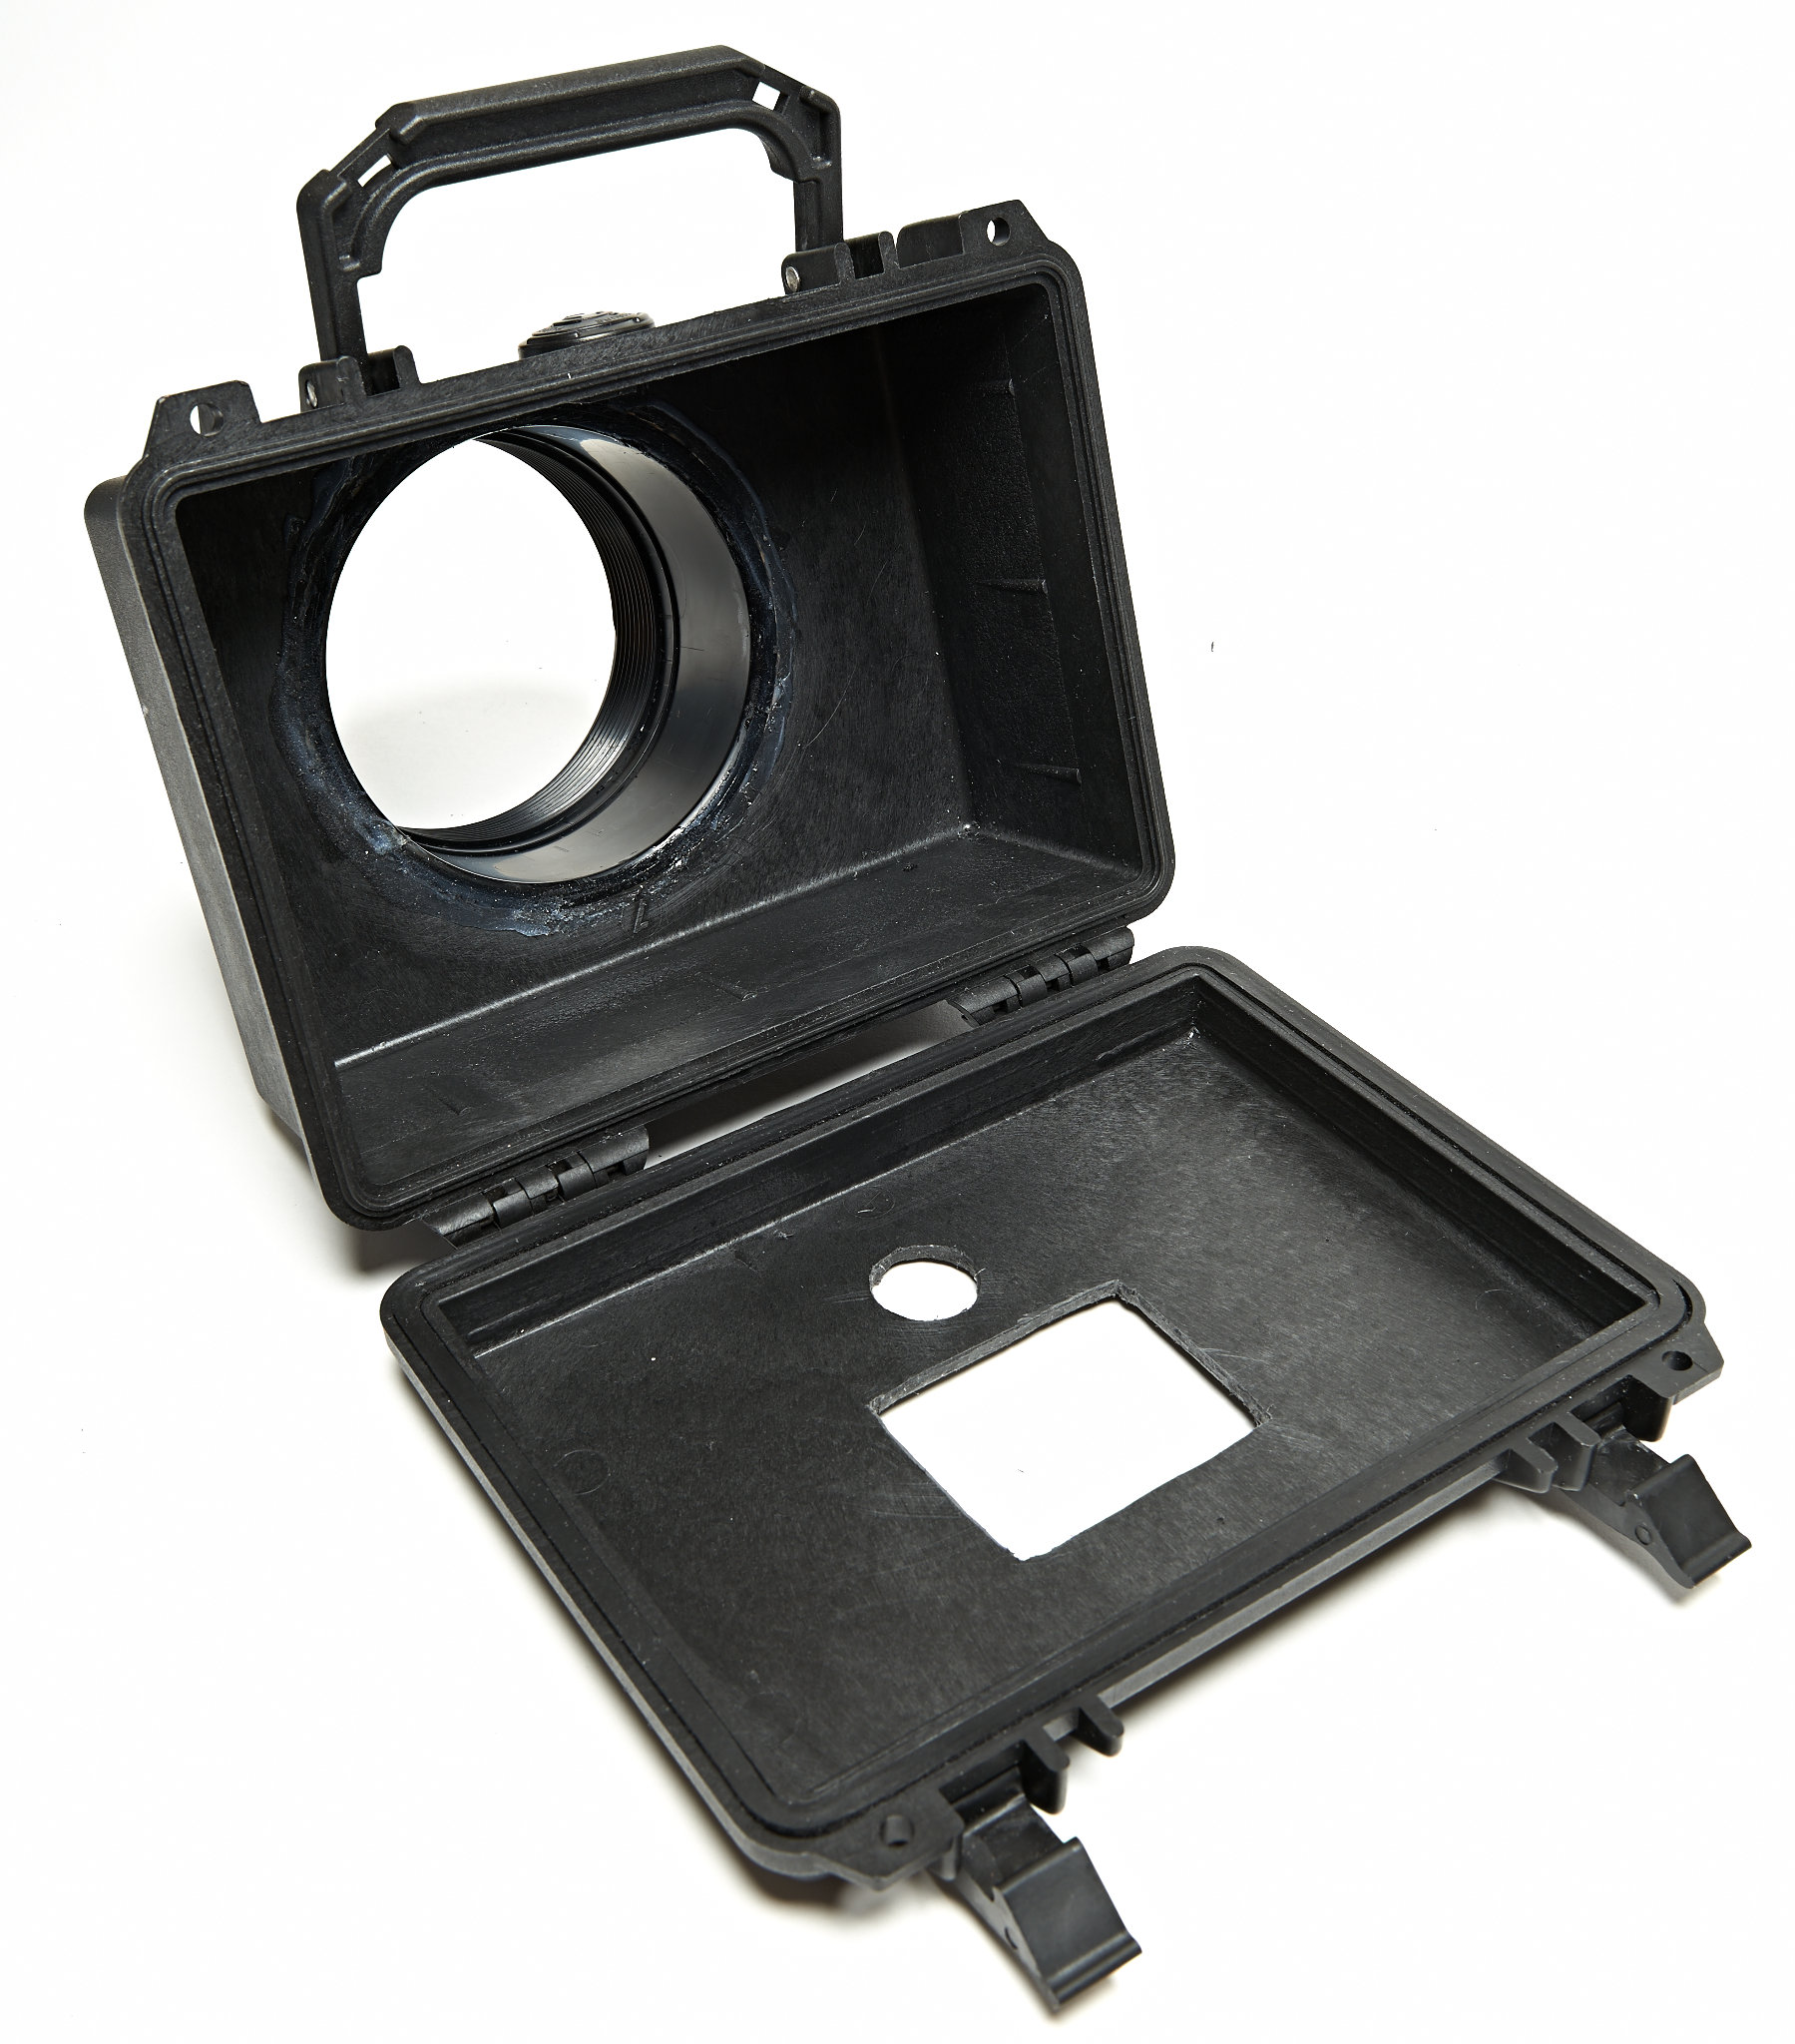
- Making marks for the lens tube housing
-
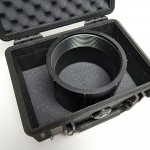
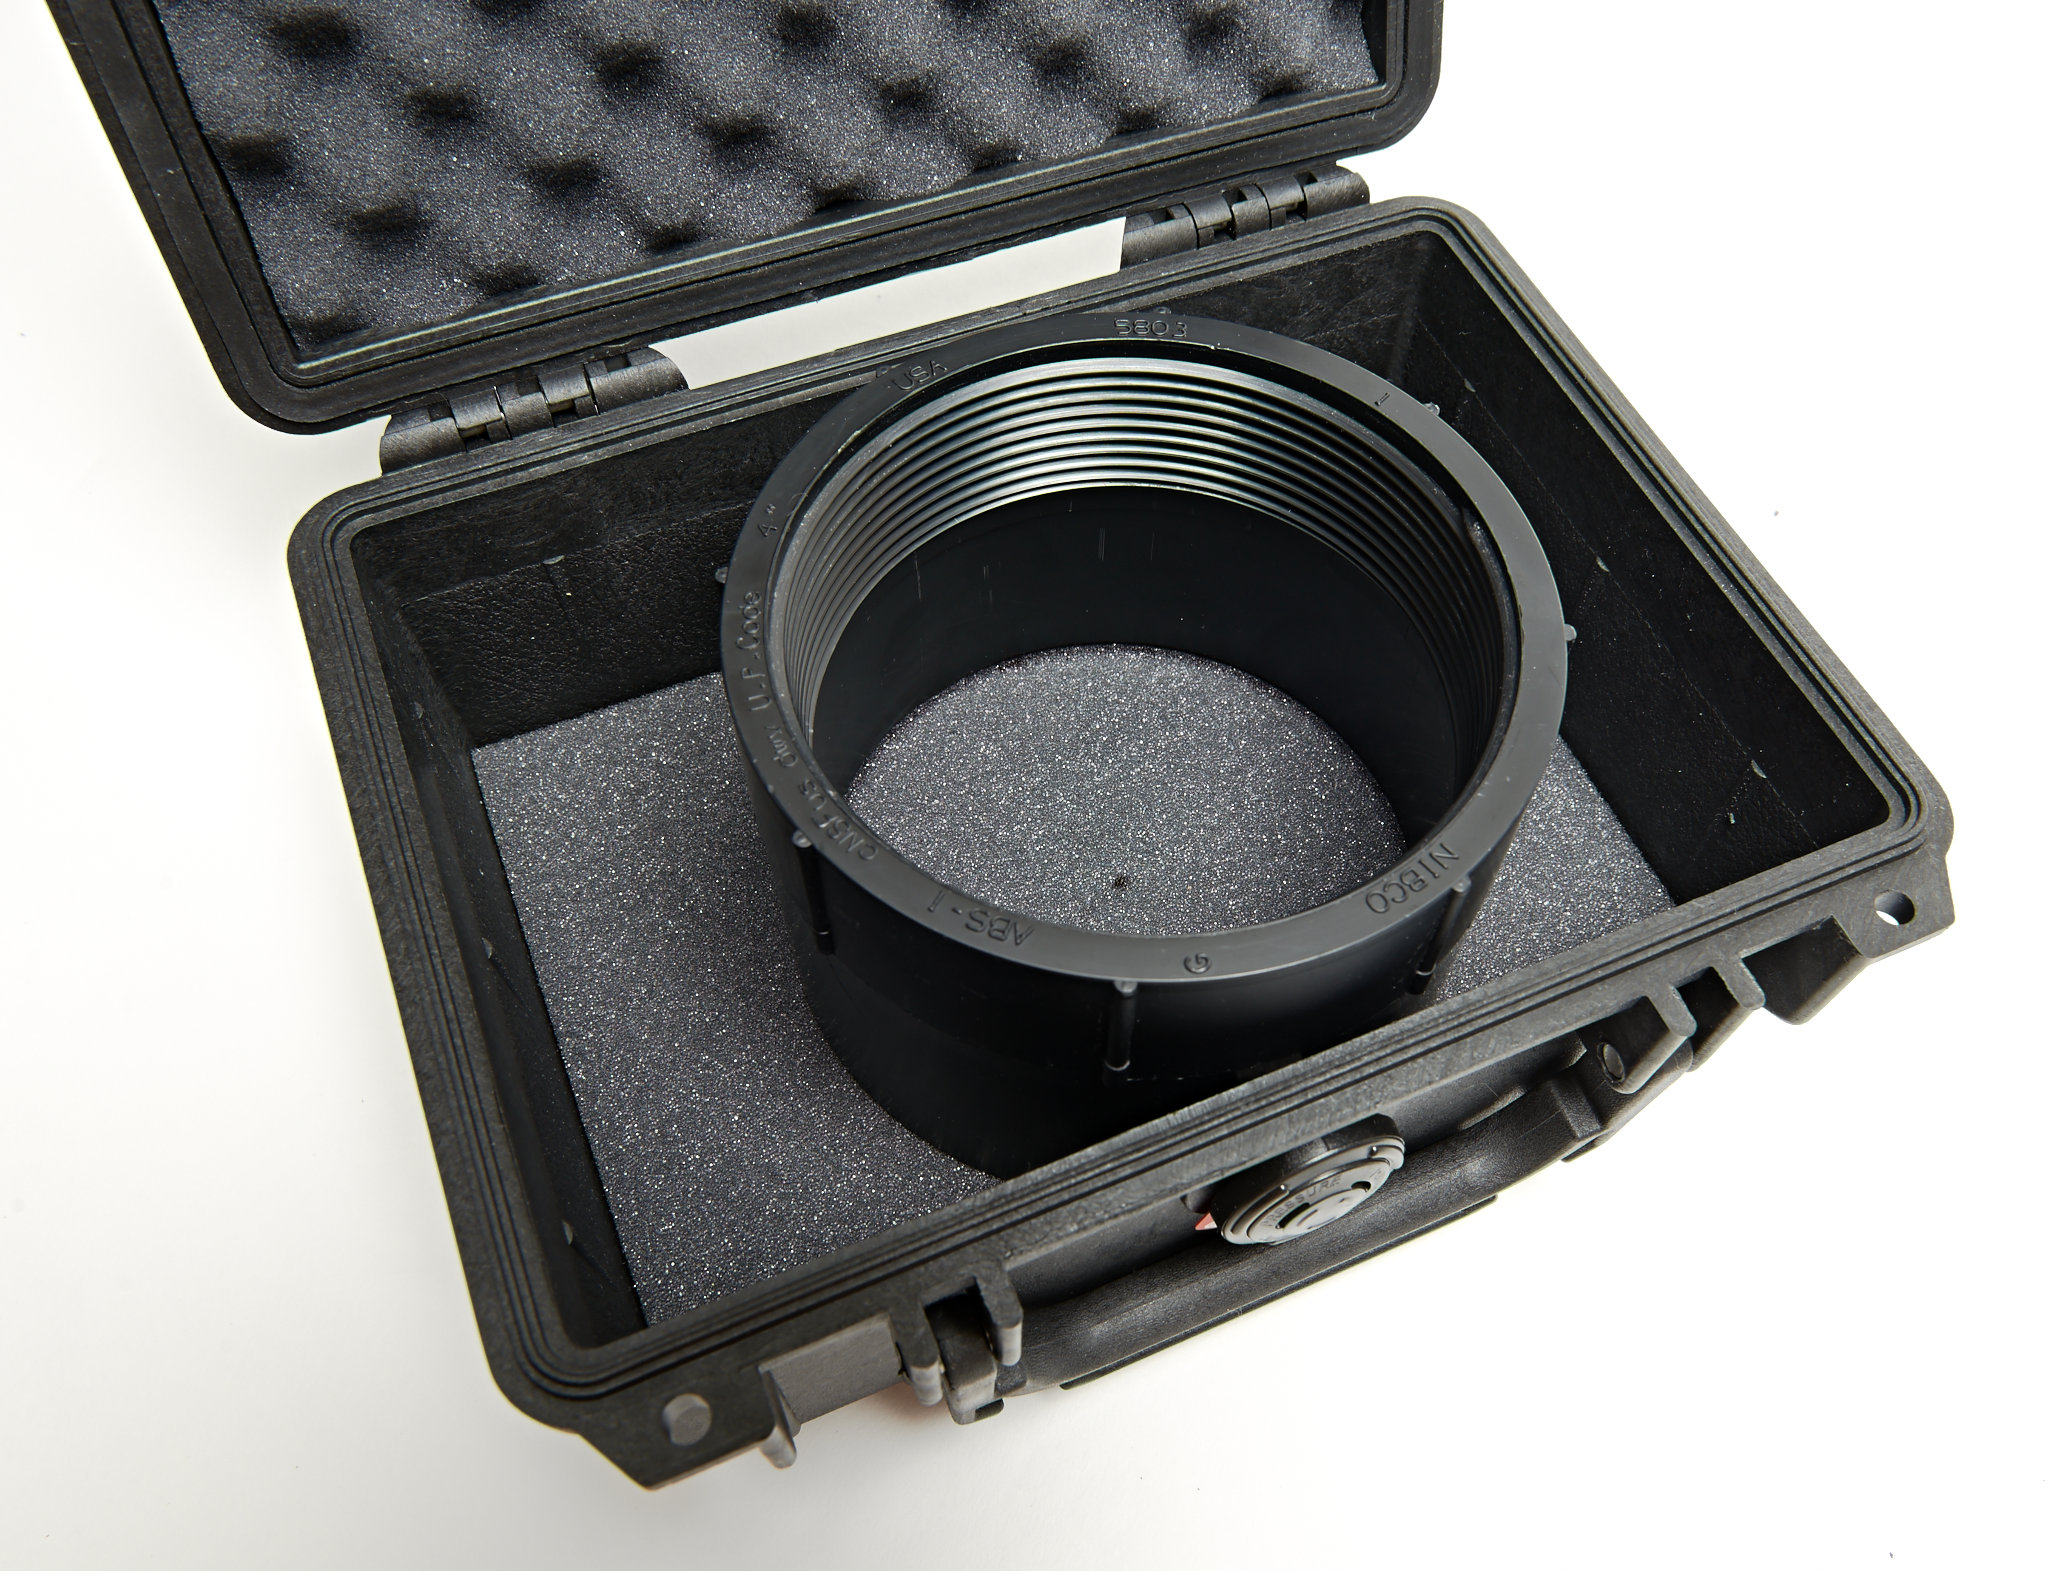
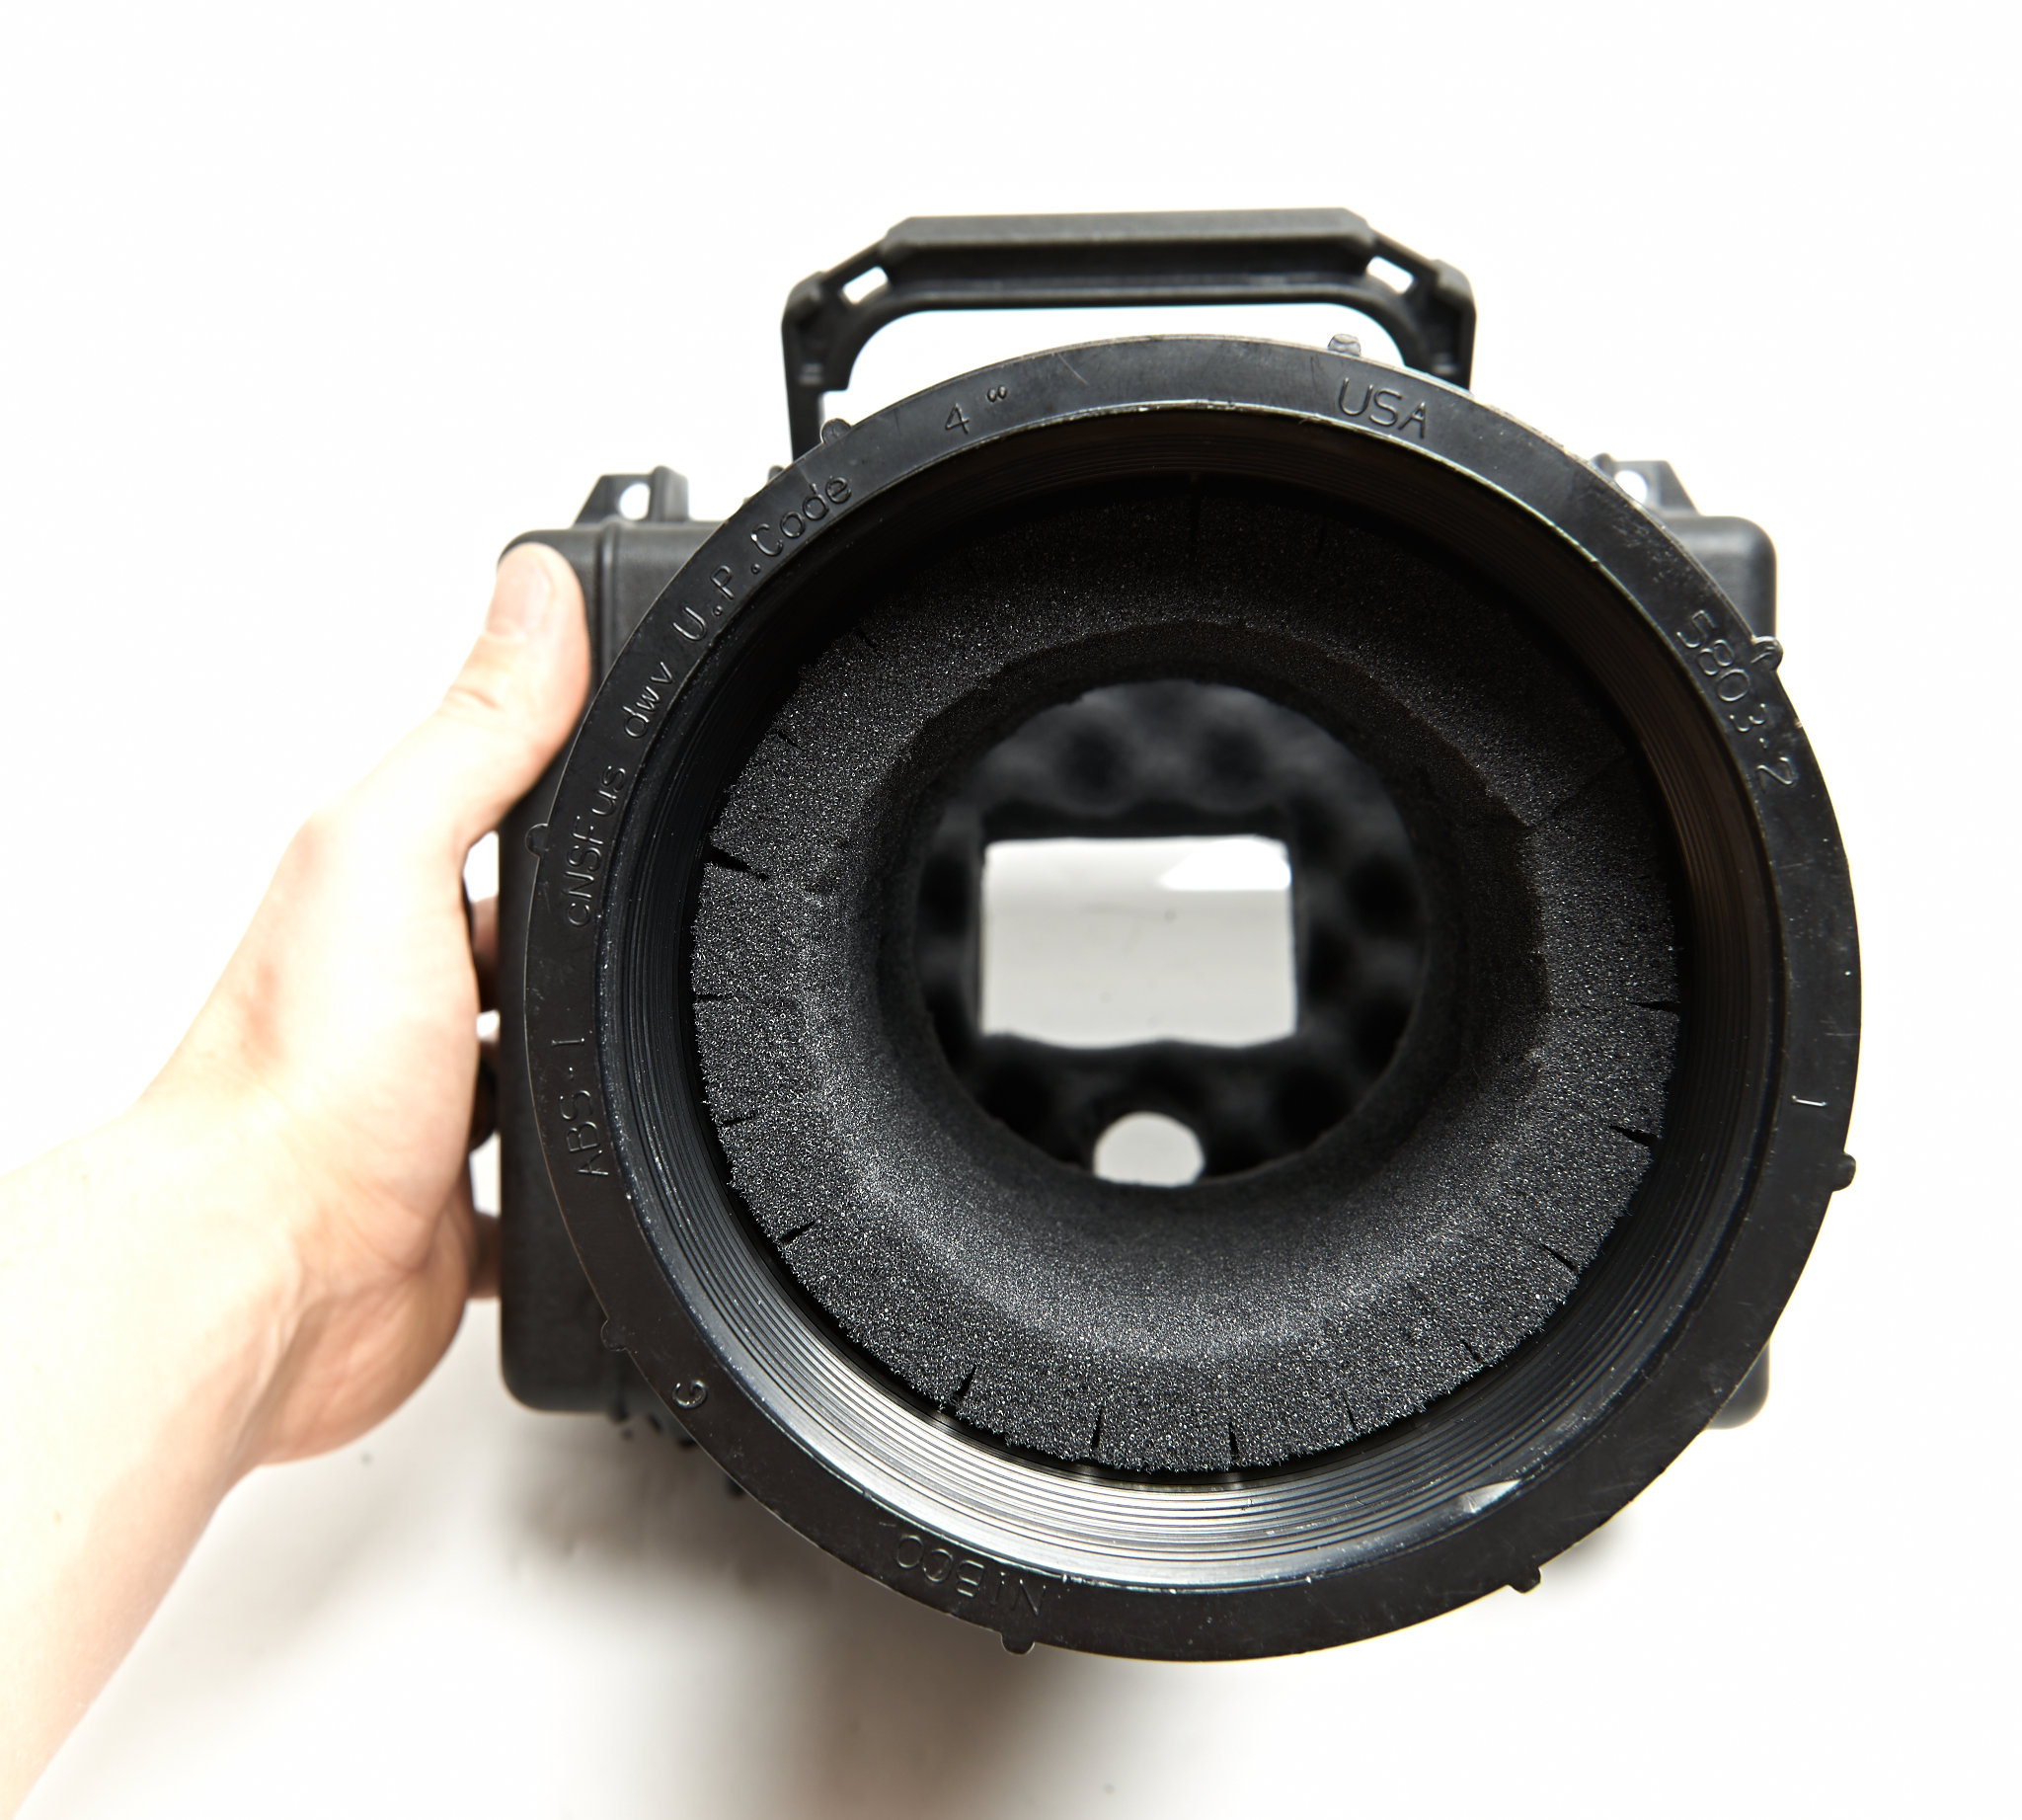
- Lens tube housing fitted and fixed, first with epoxy and then sealed with silicone
-
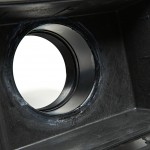
- View from inside; the silicone should provide a fully waterproof seal

-
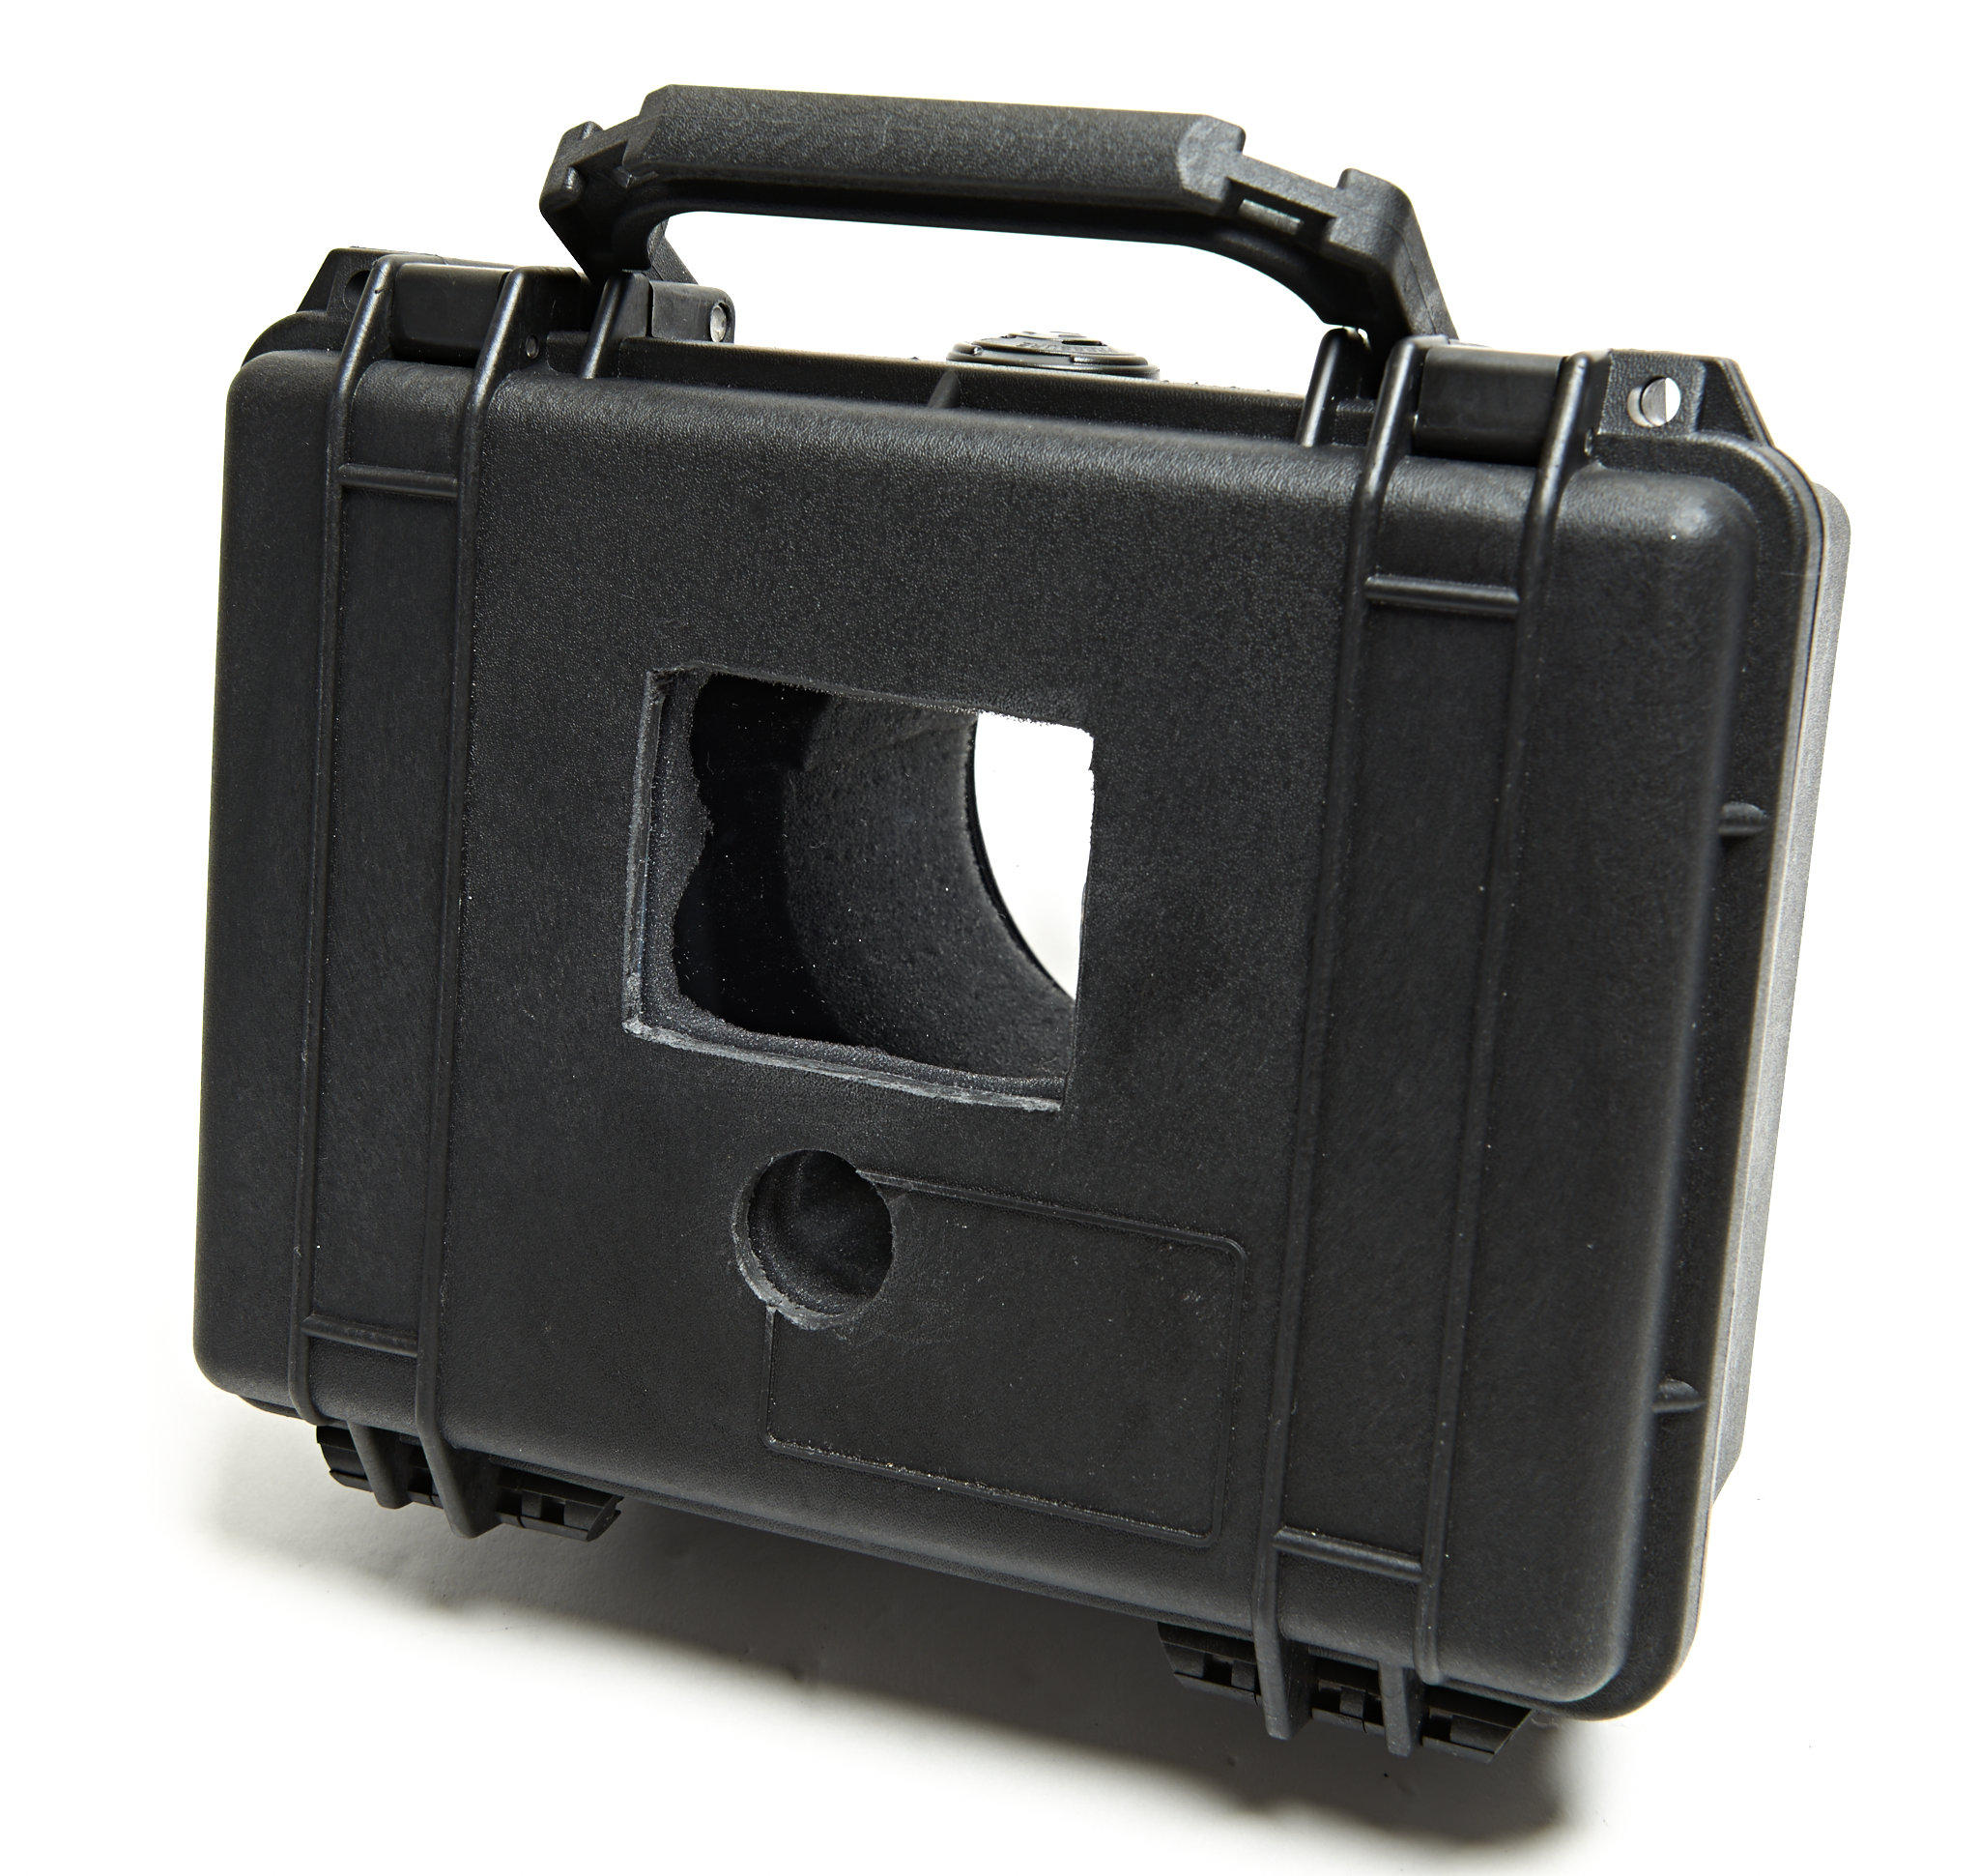
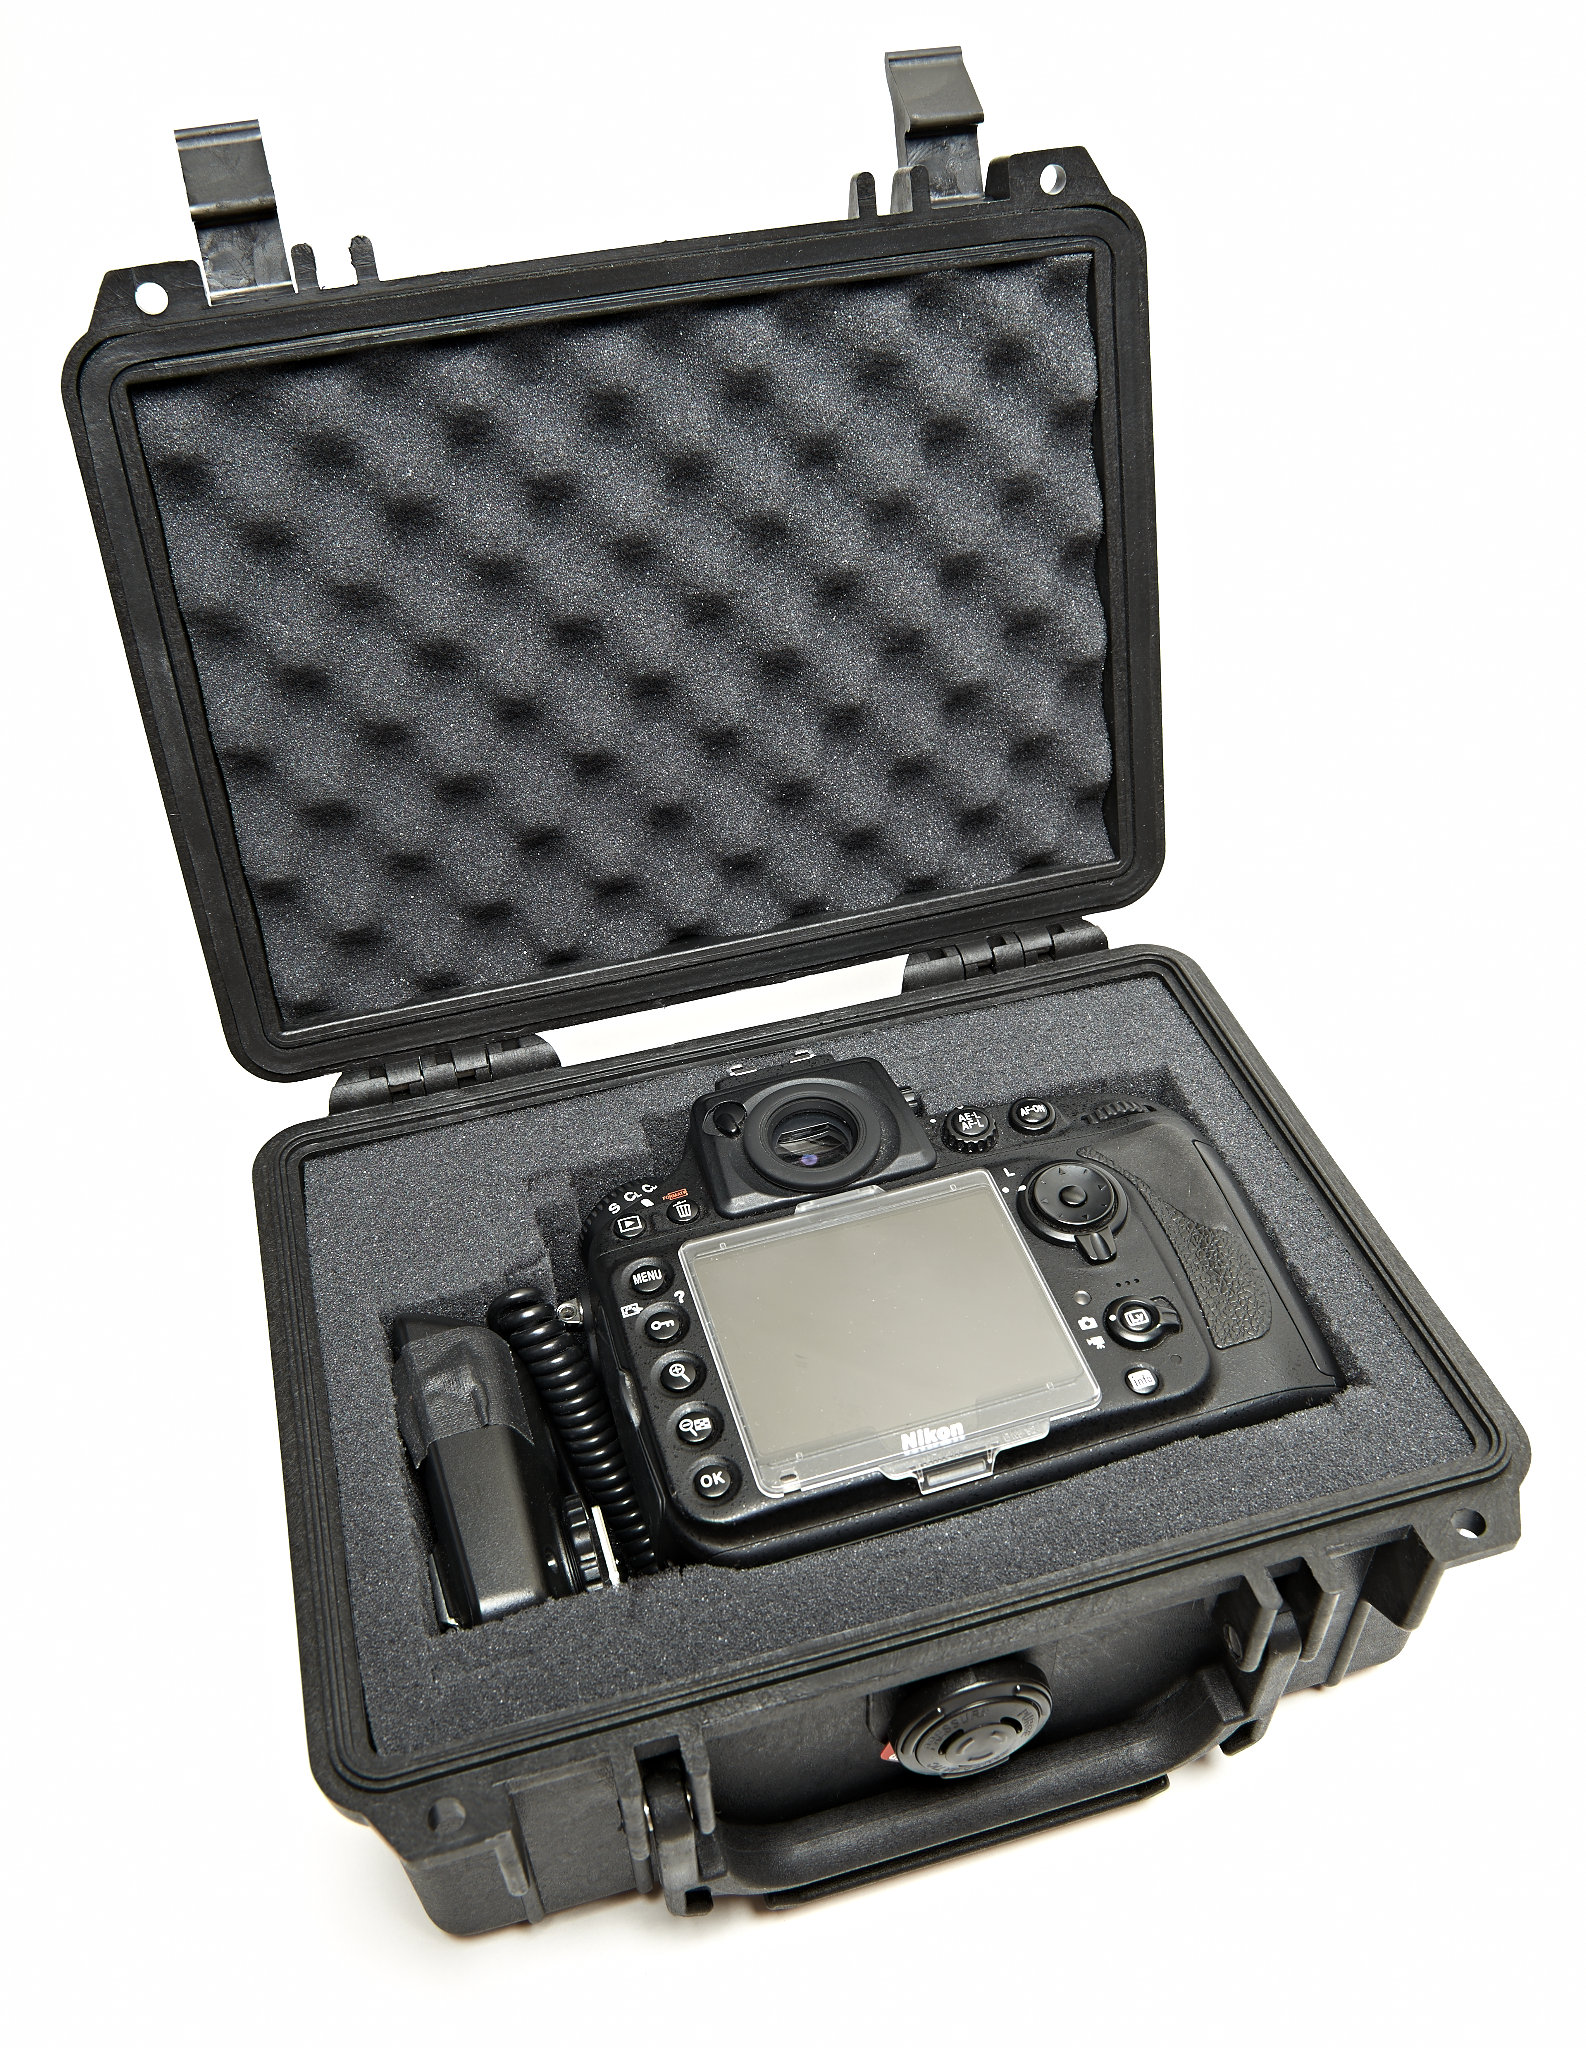
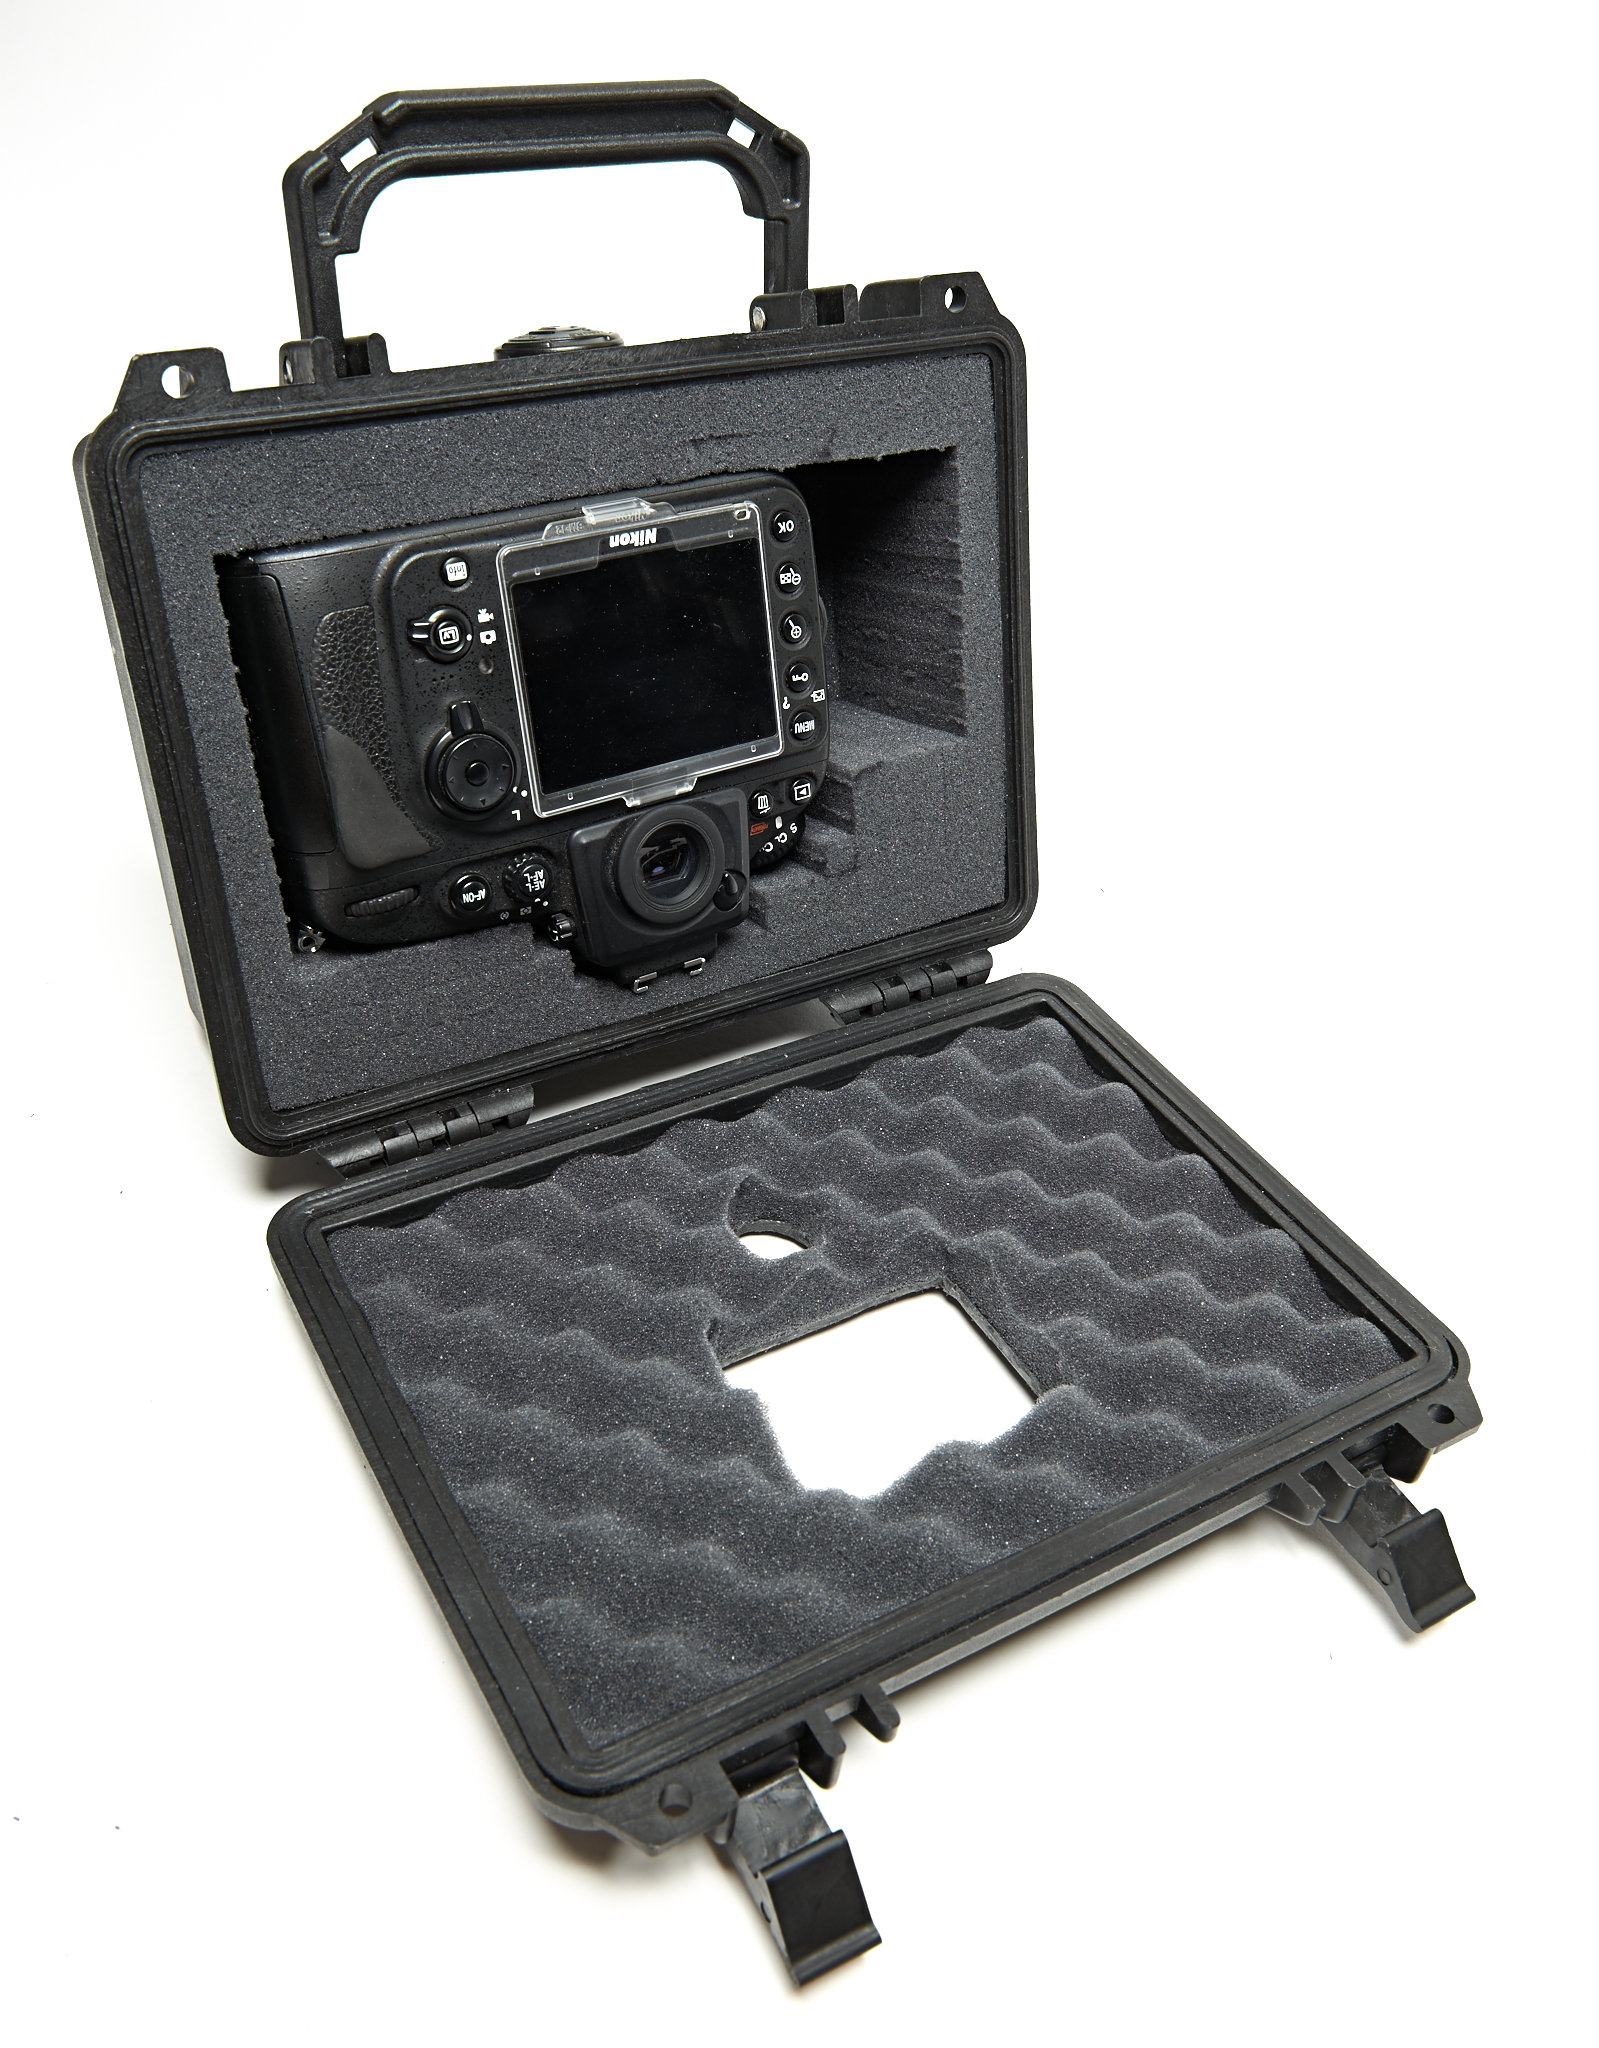
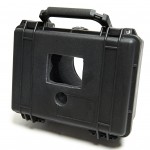
- Figuring out where the viewfinder and LCD holes should go on the lid
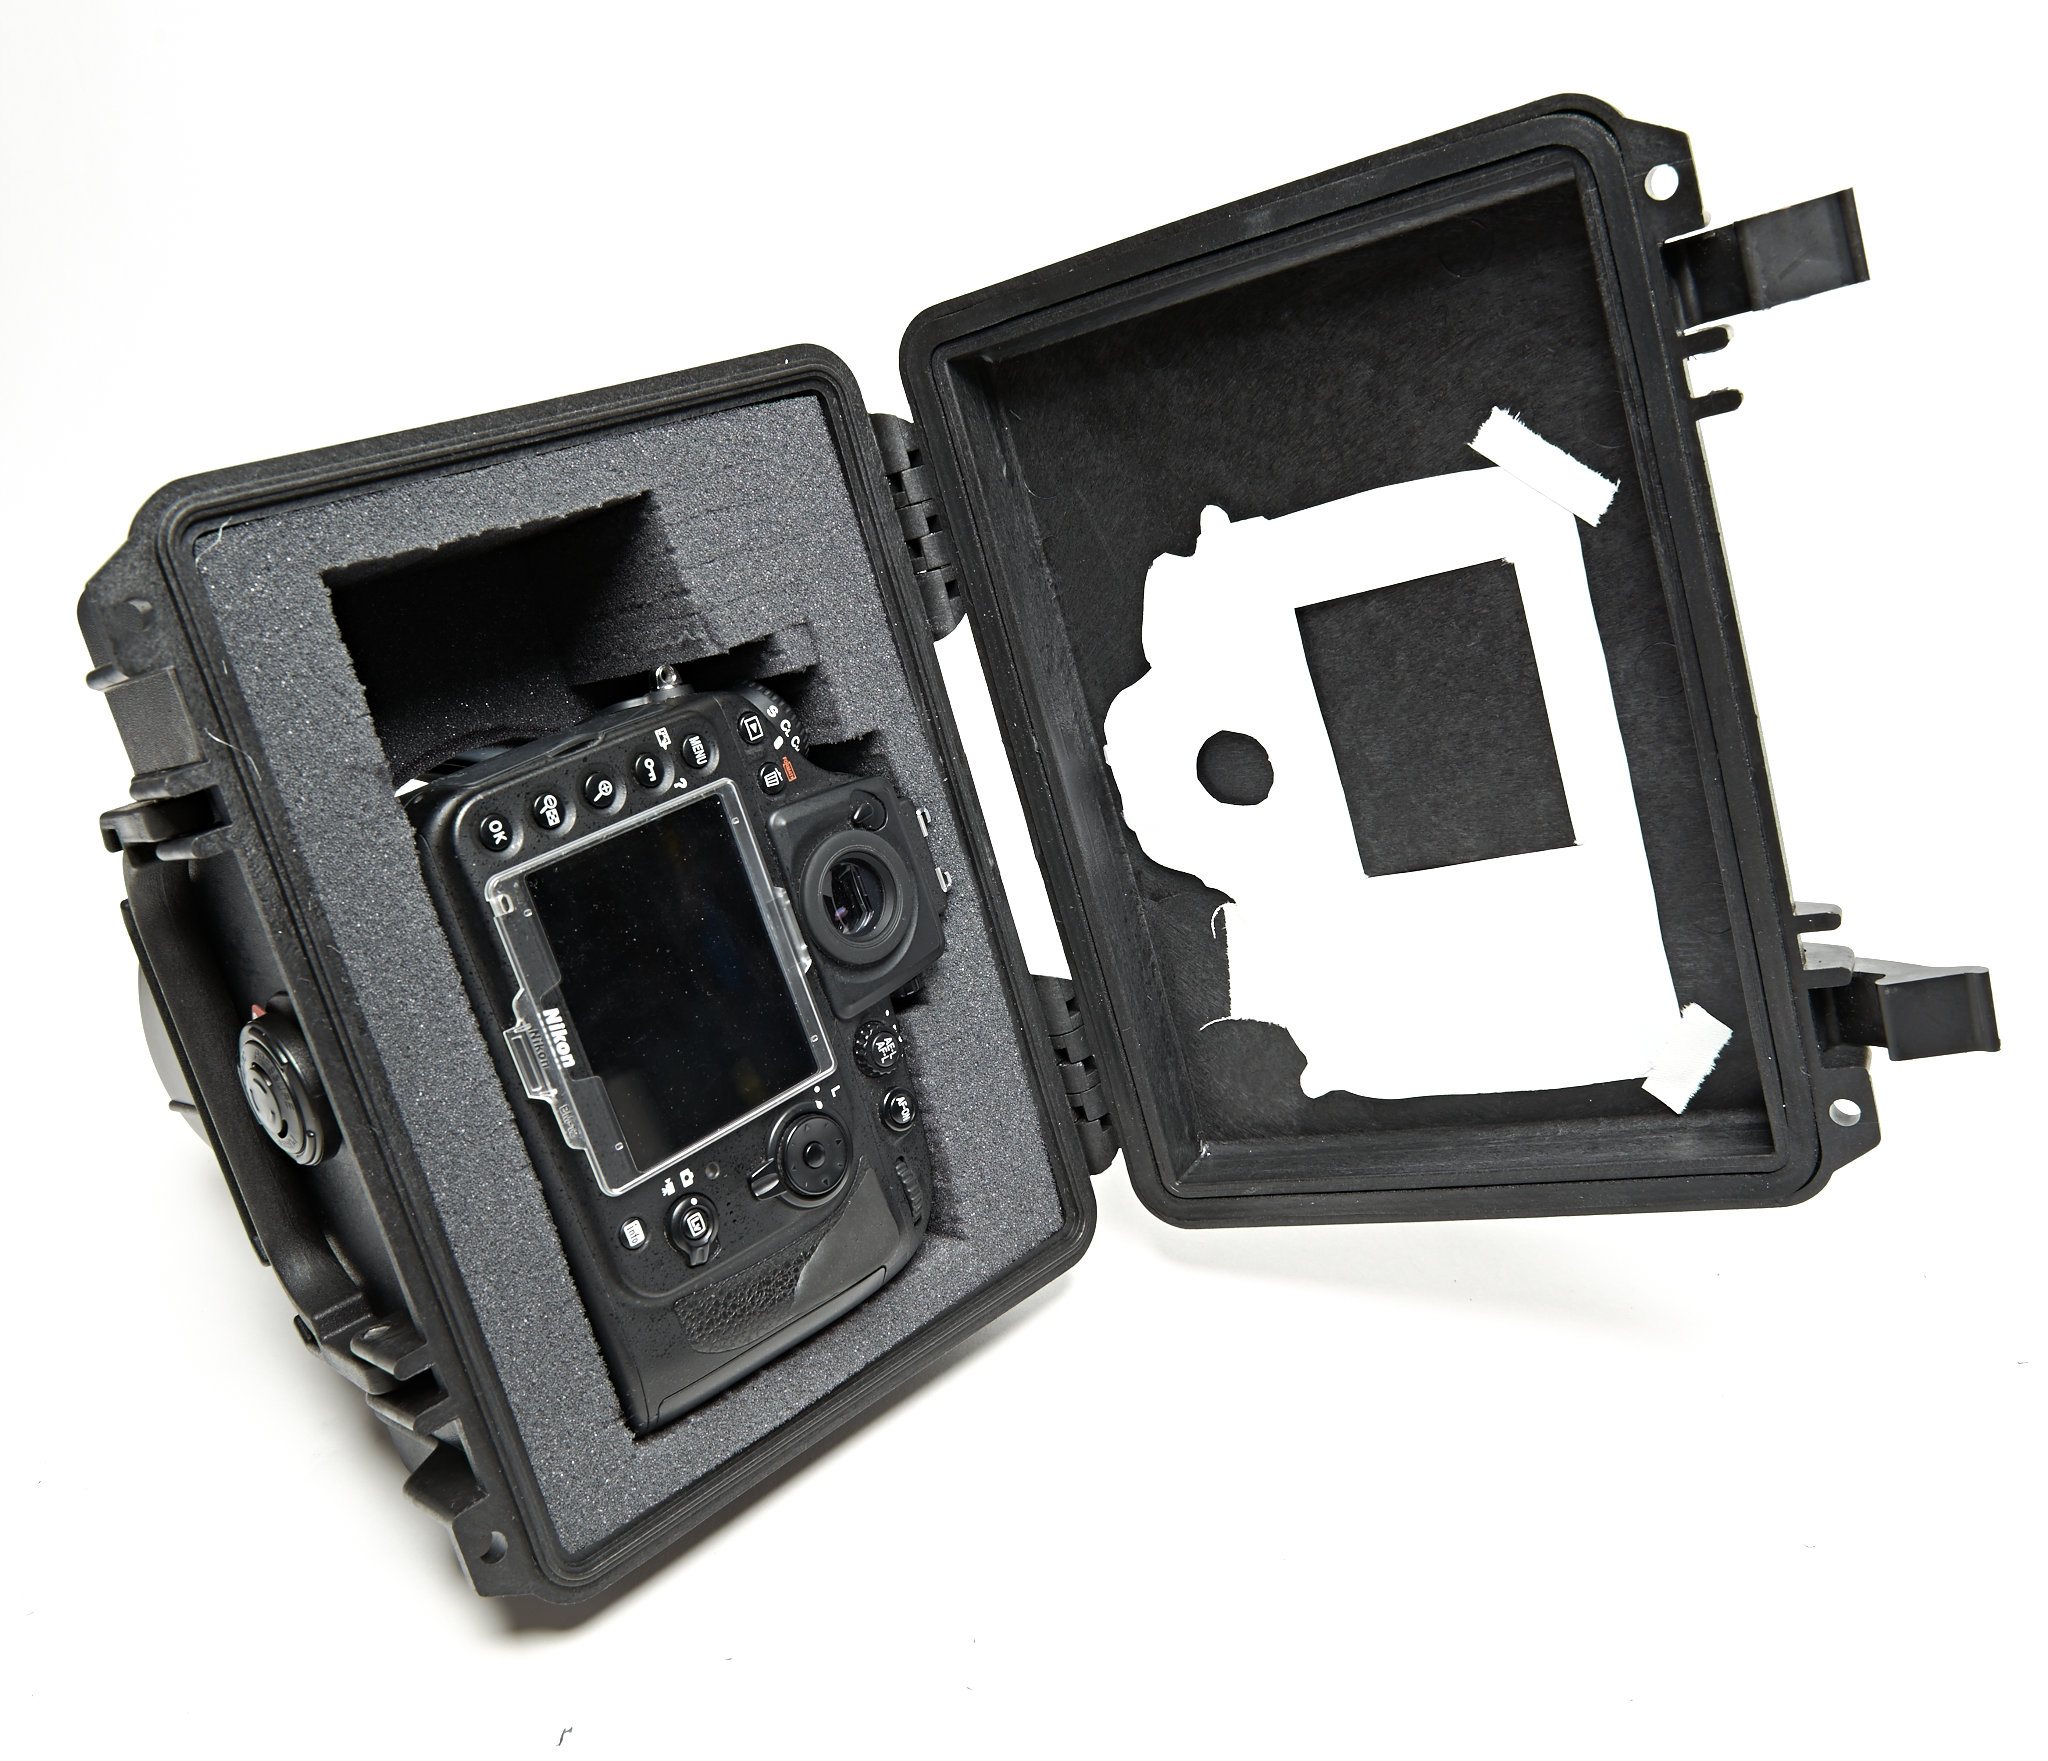
-
- Those holes now made with some righteous Dremel-ing
-
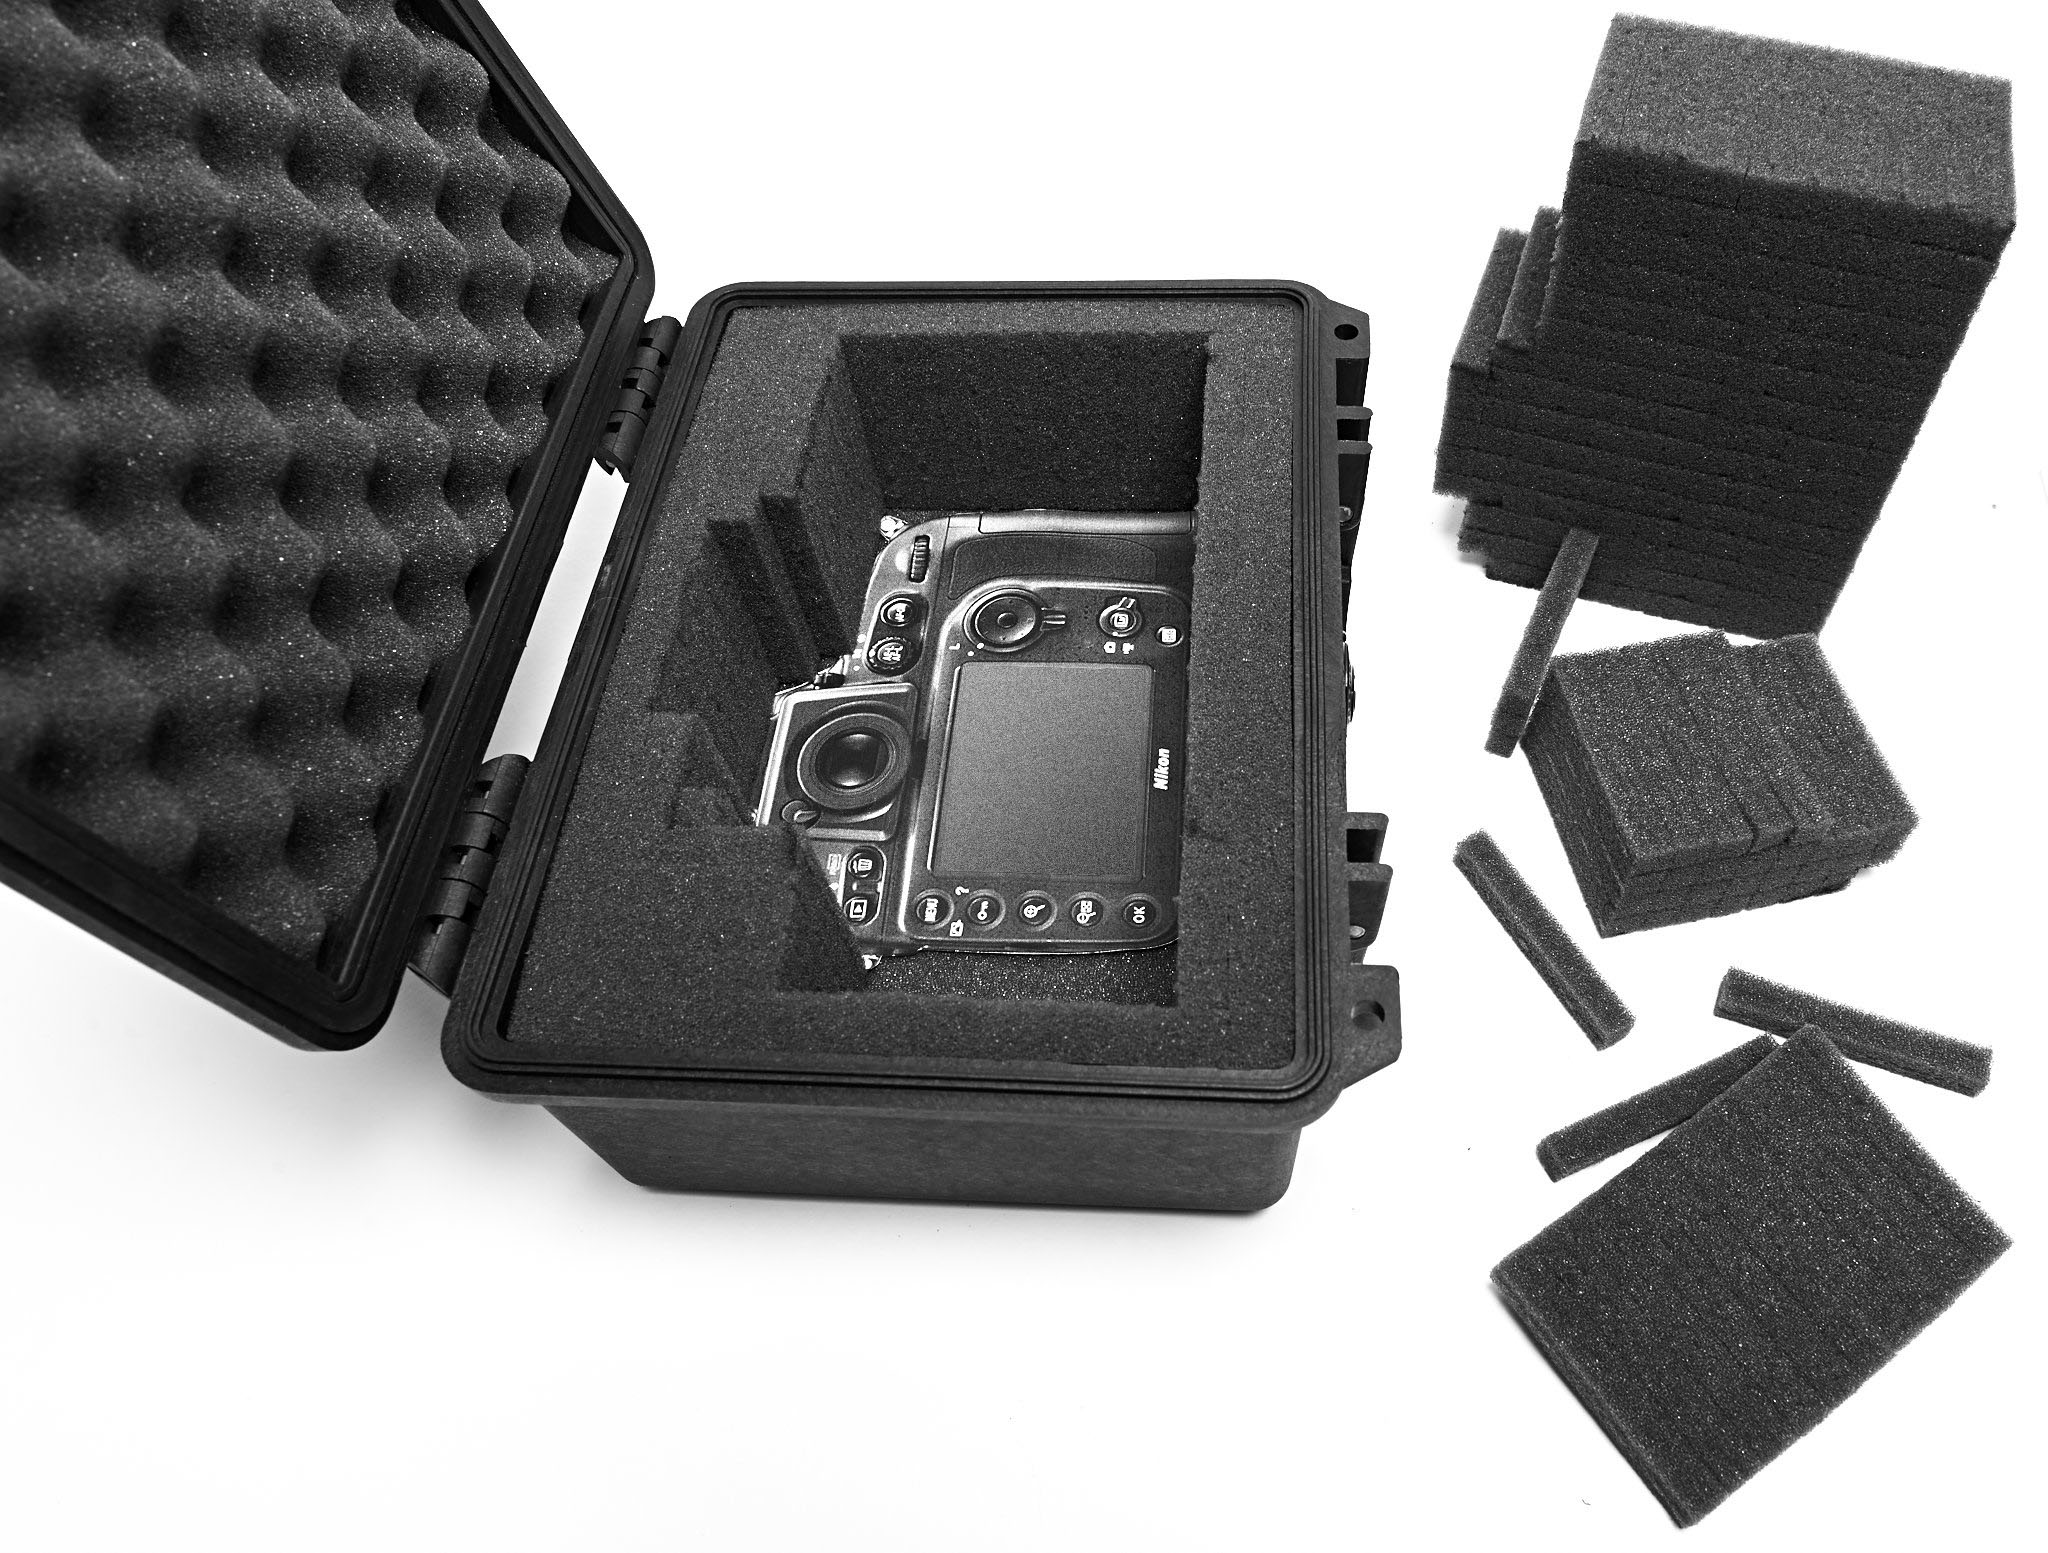
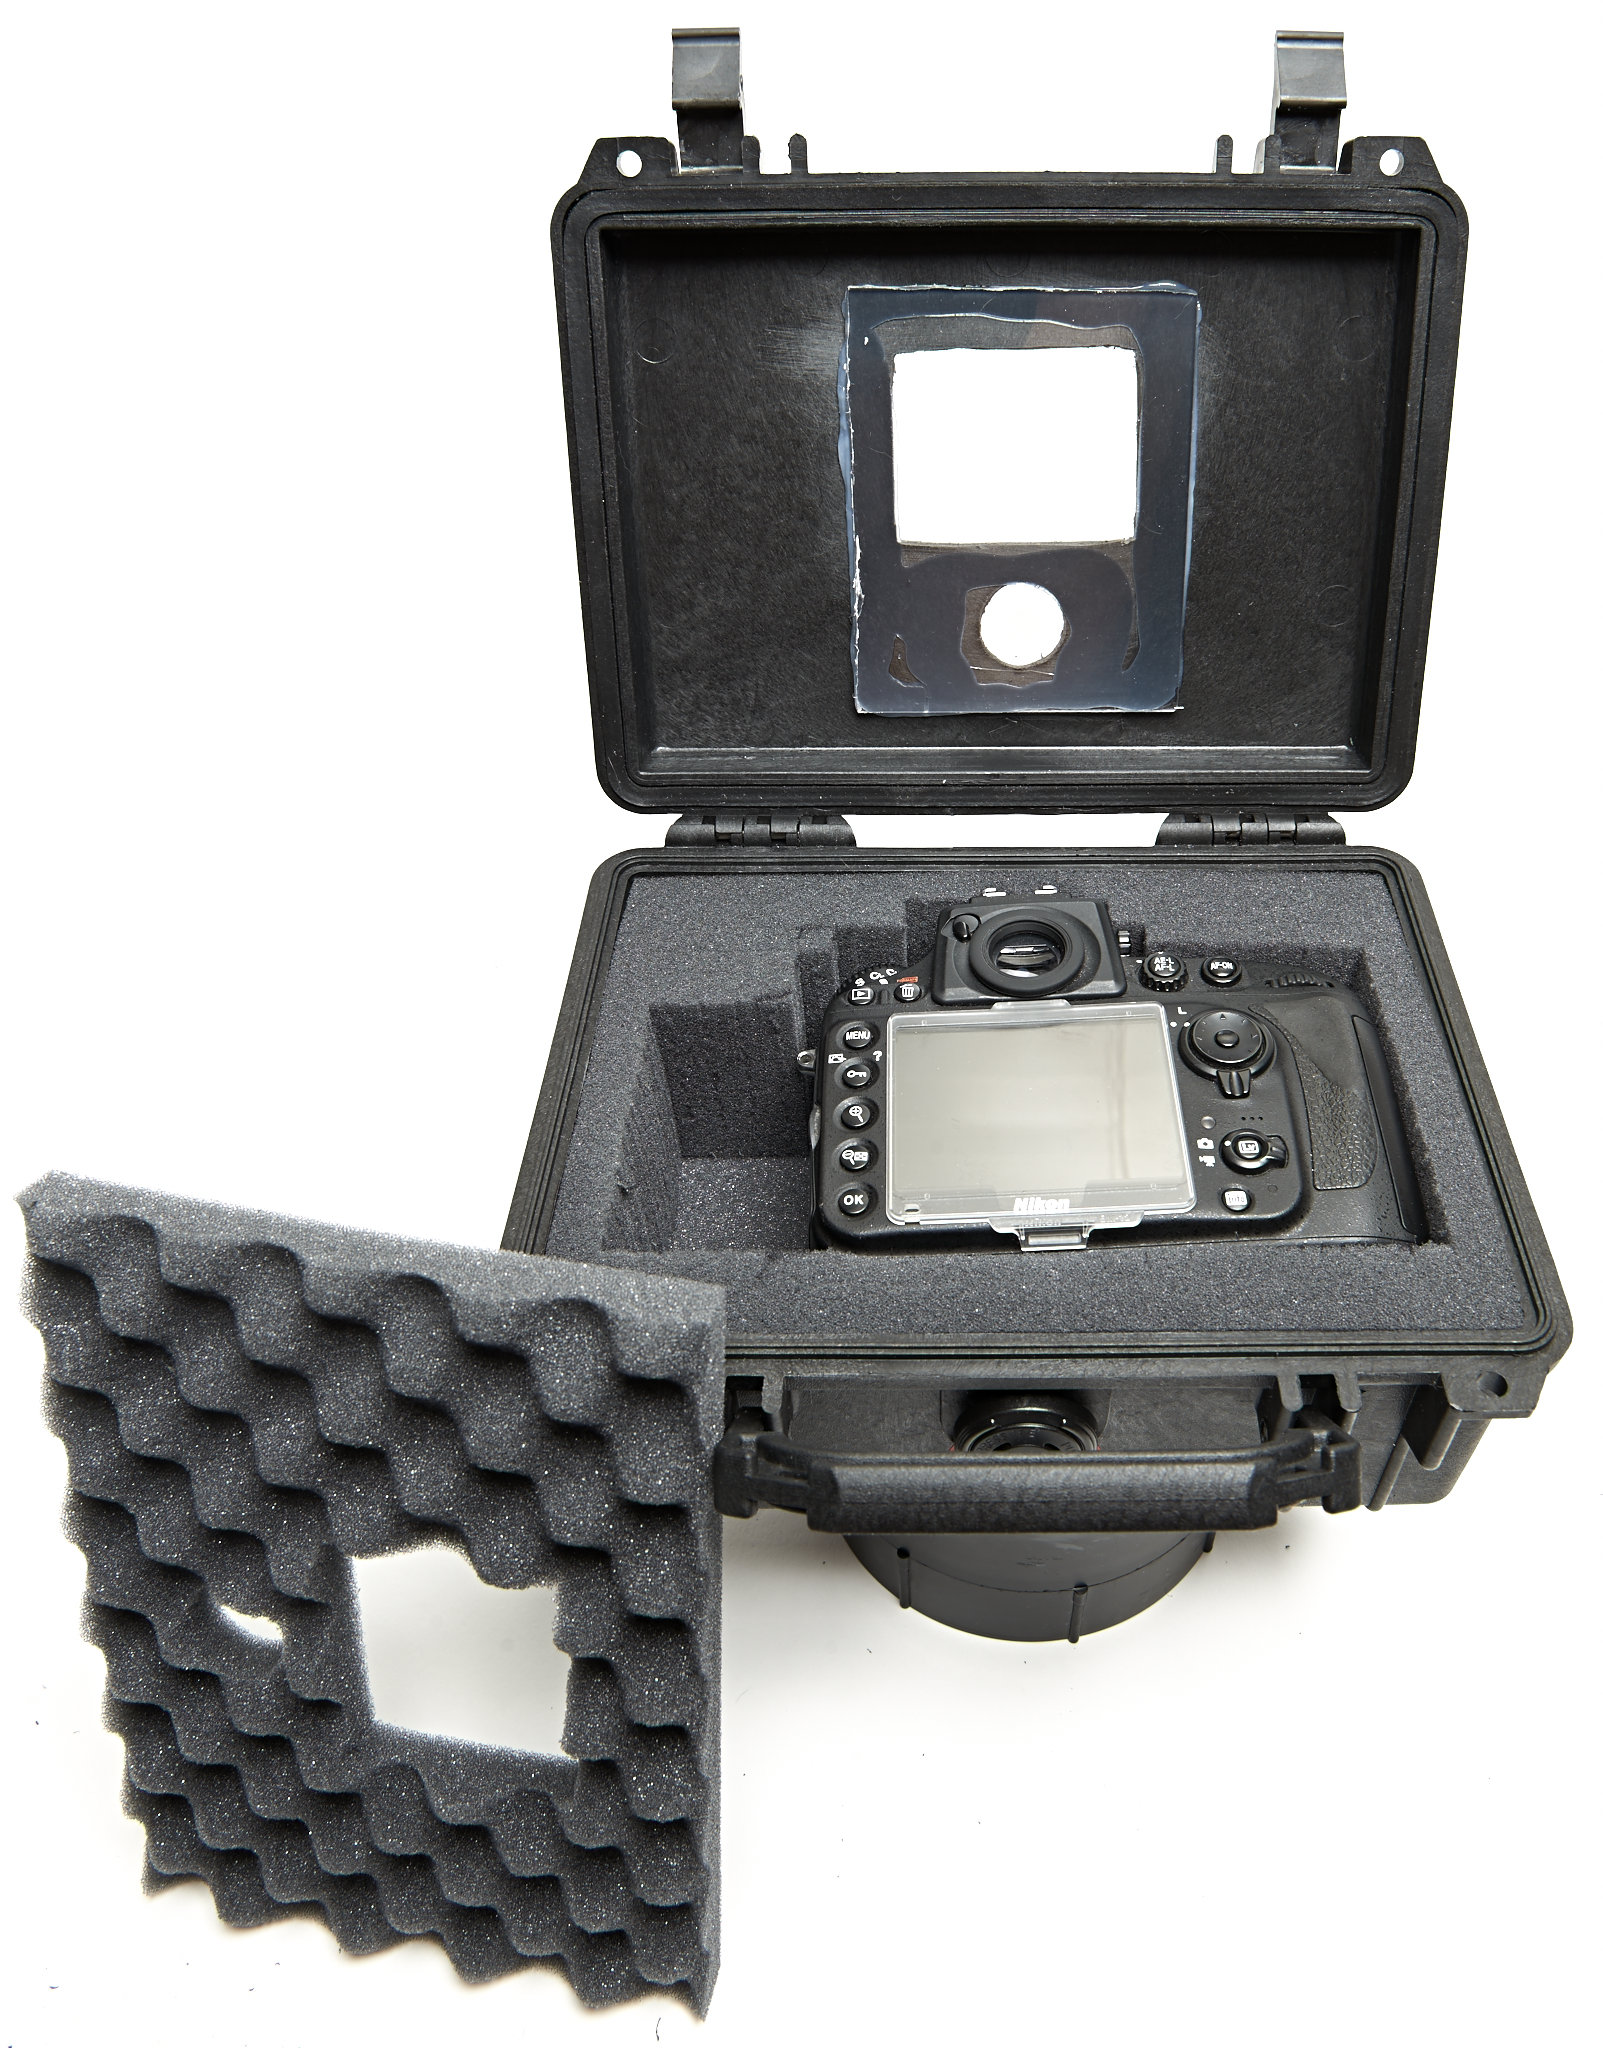
- The foam now perforated and in place; camera fits great
-
- Cut out and fit the Lexan window; attached with the silicone sealant
-
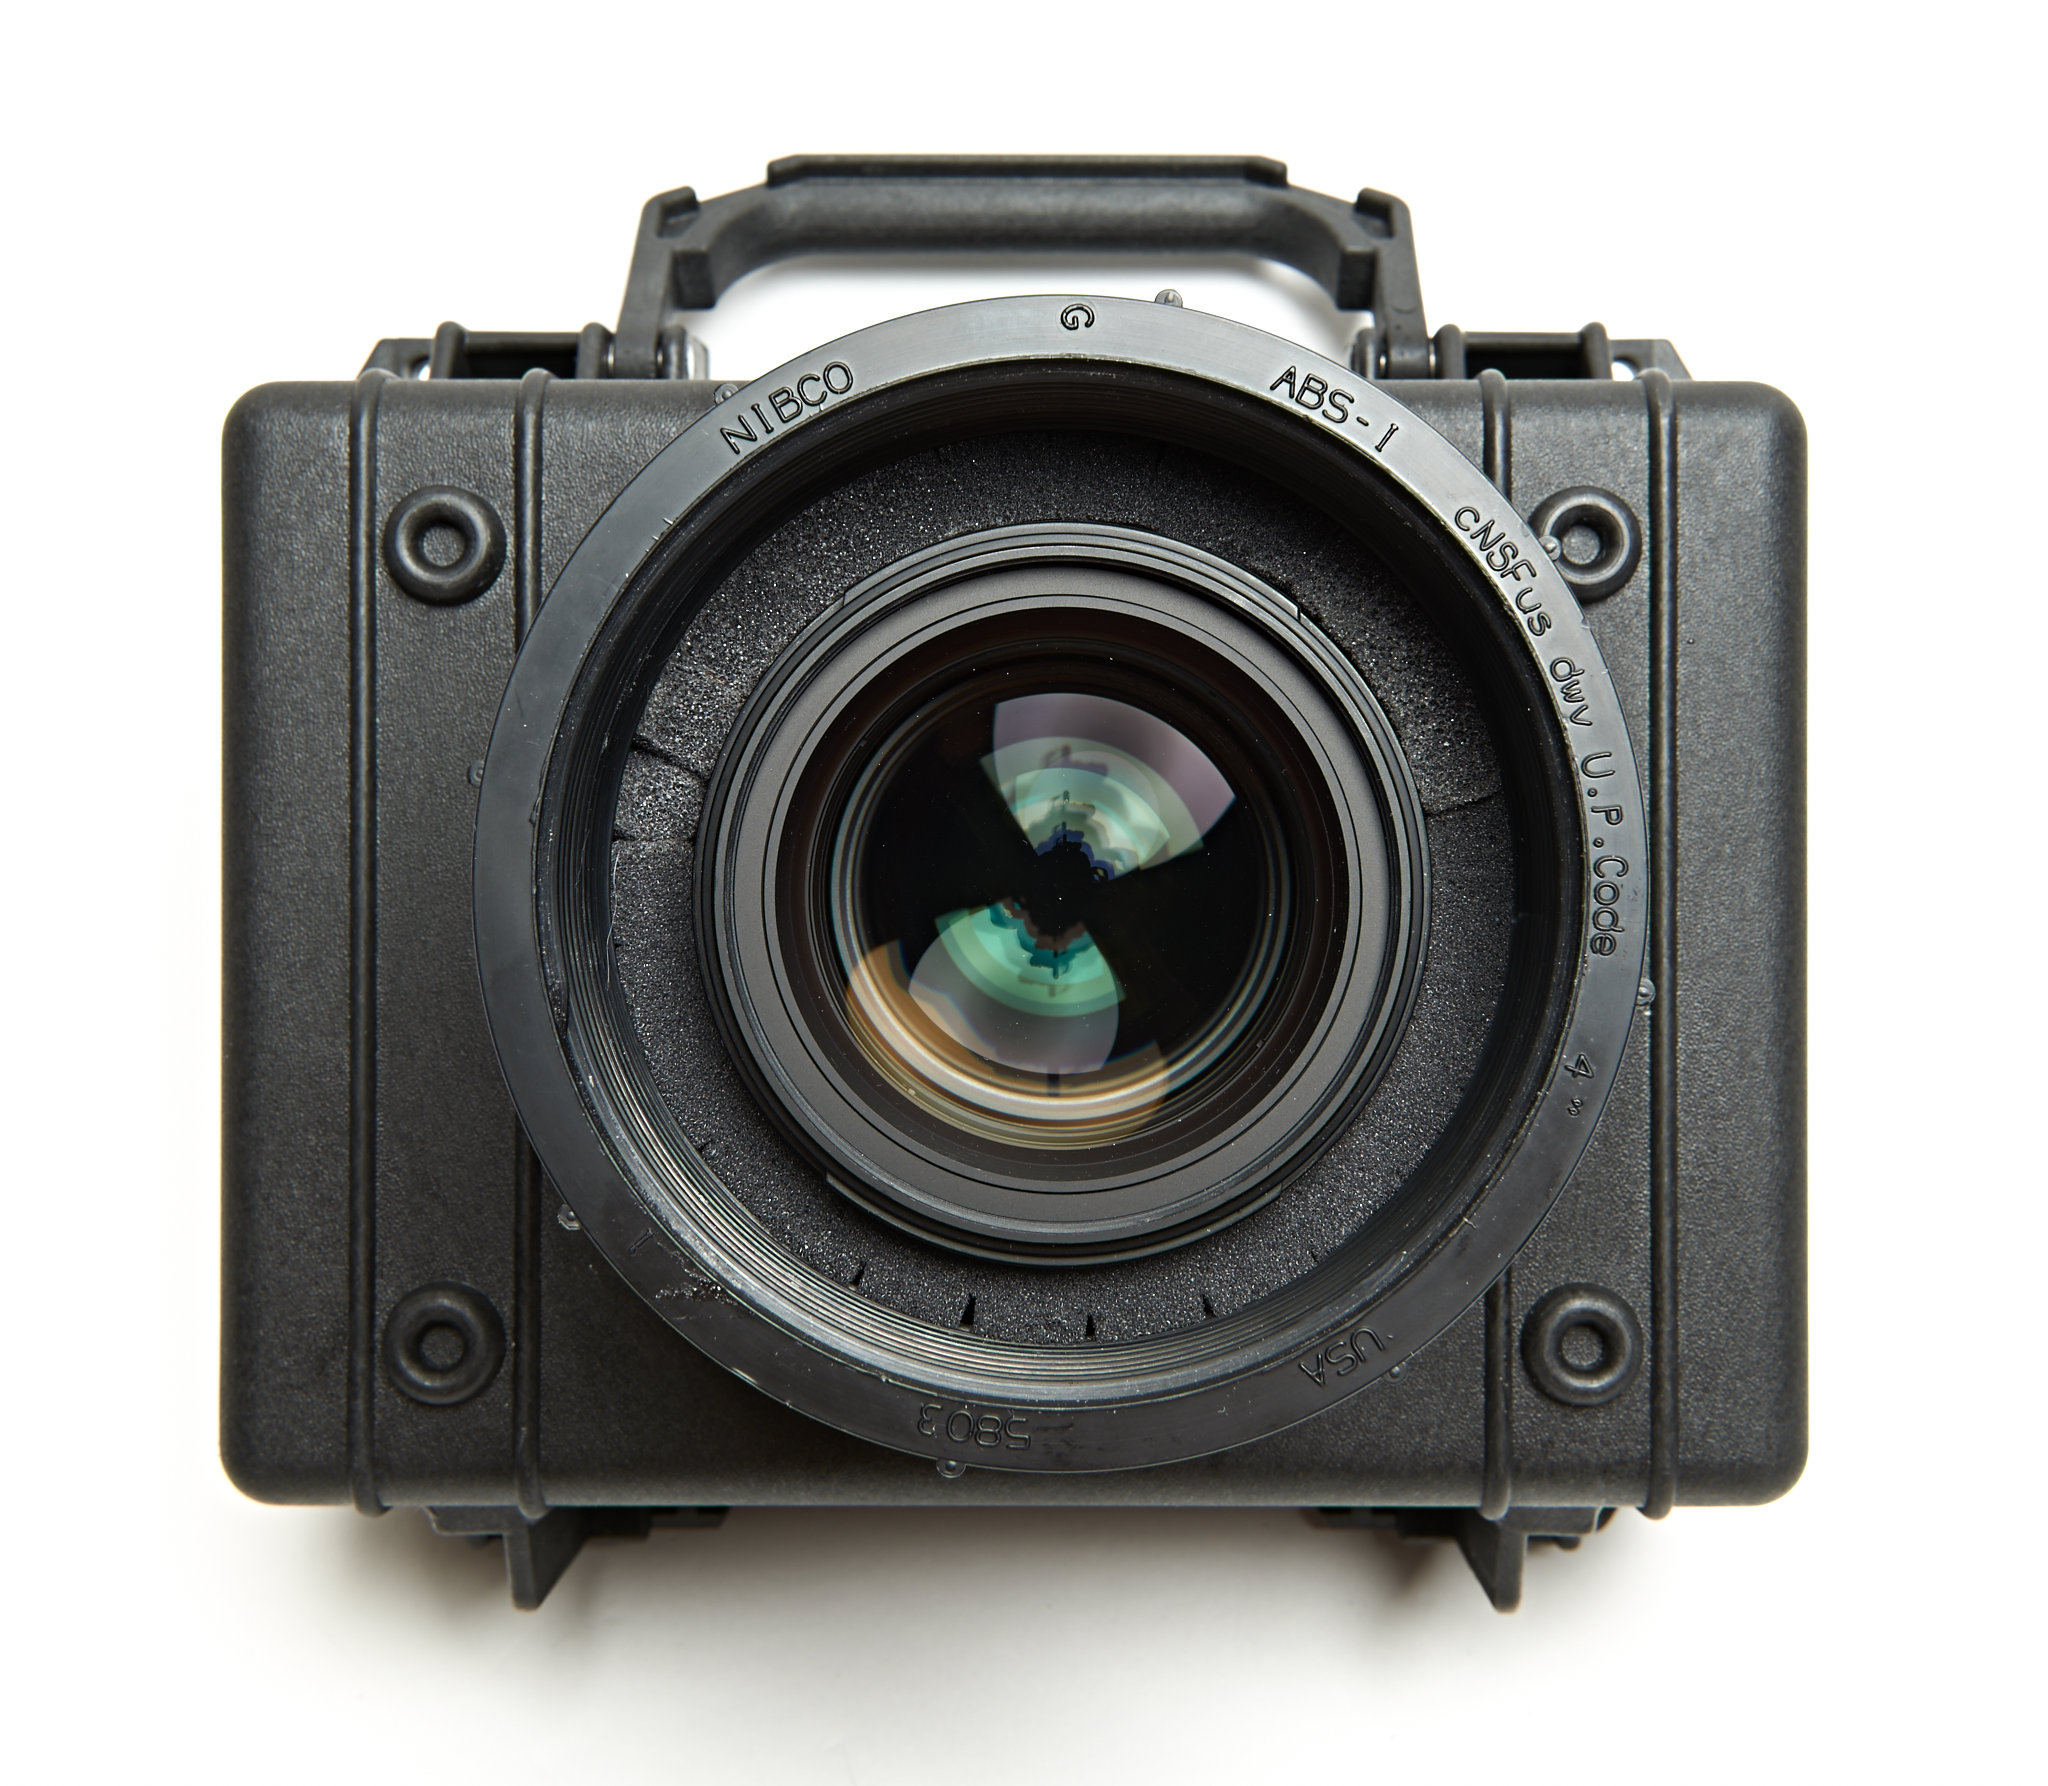
- Camera fitted; the lens is nicely centered in the pipe
-
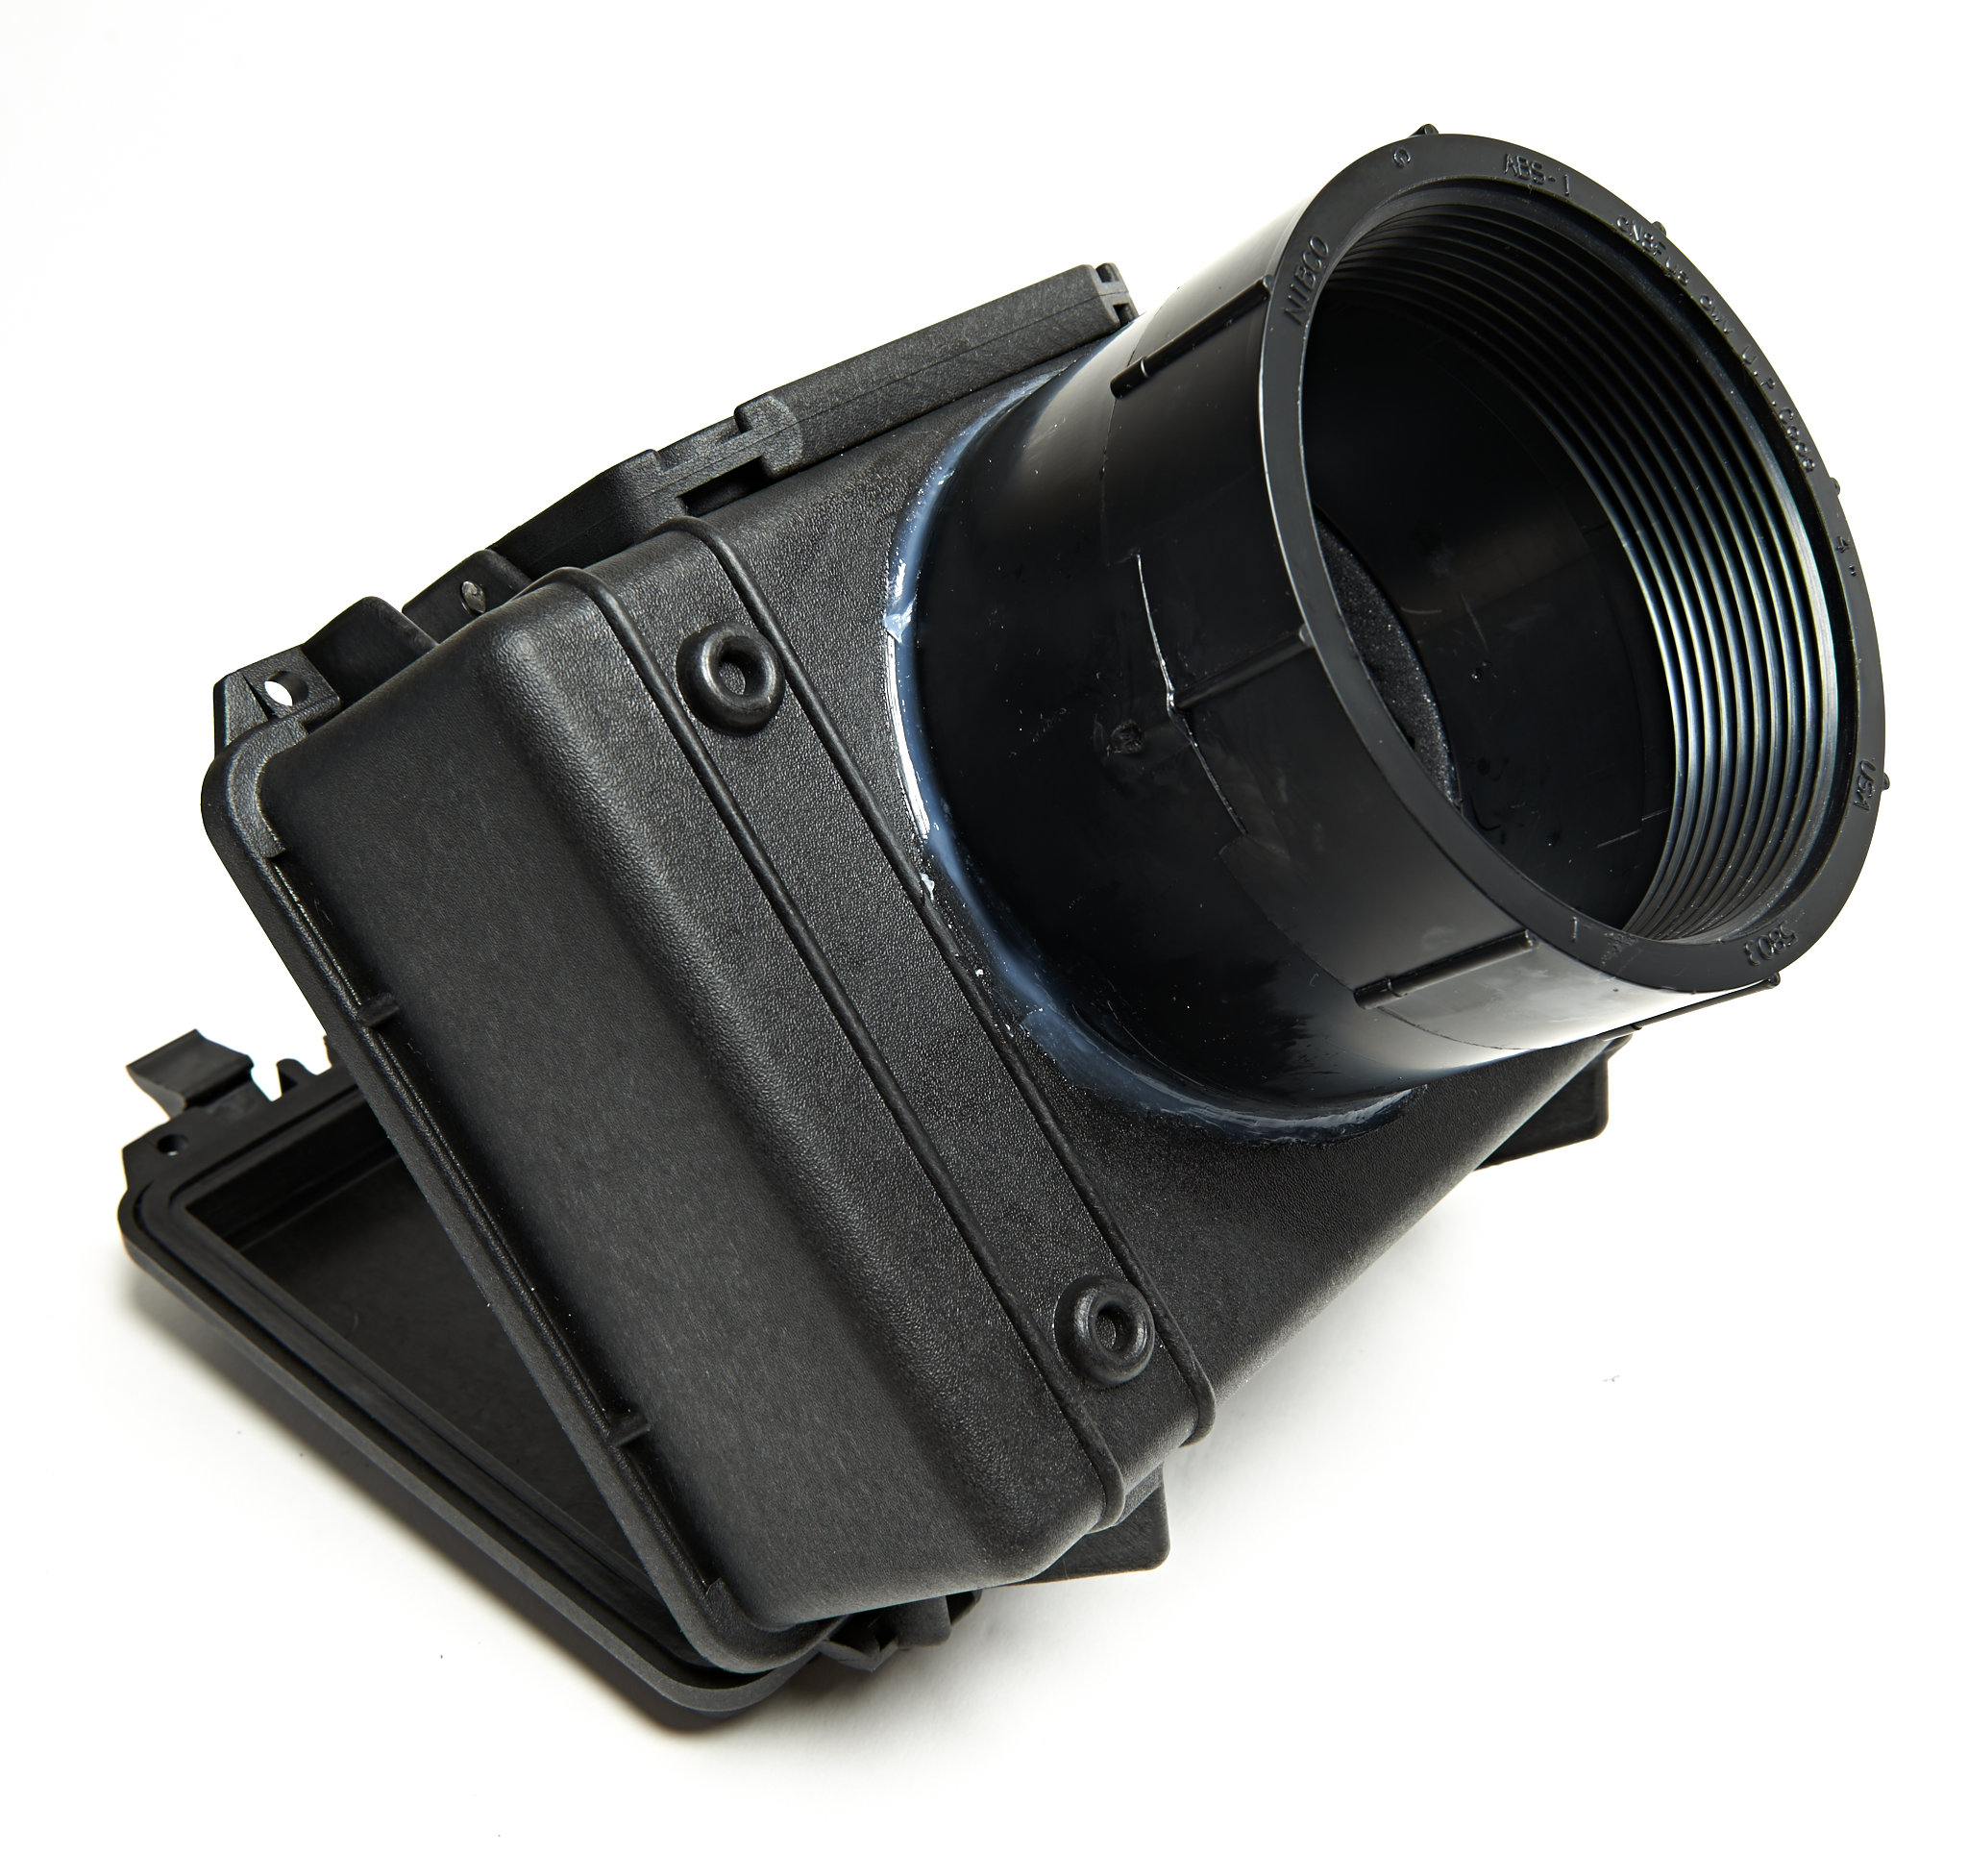
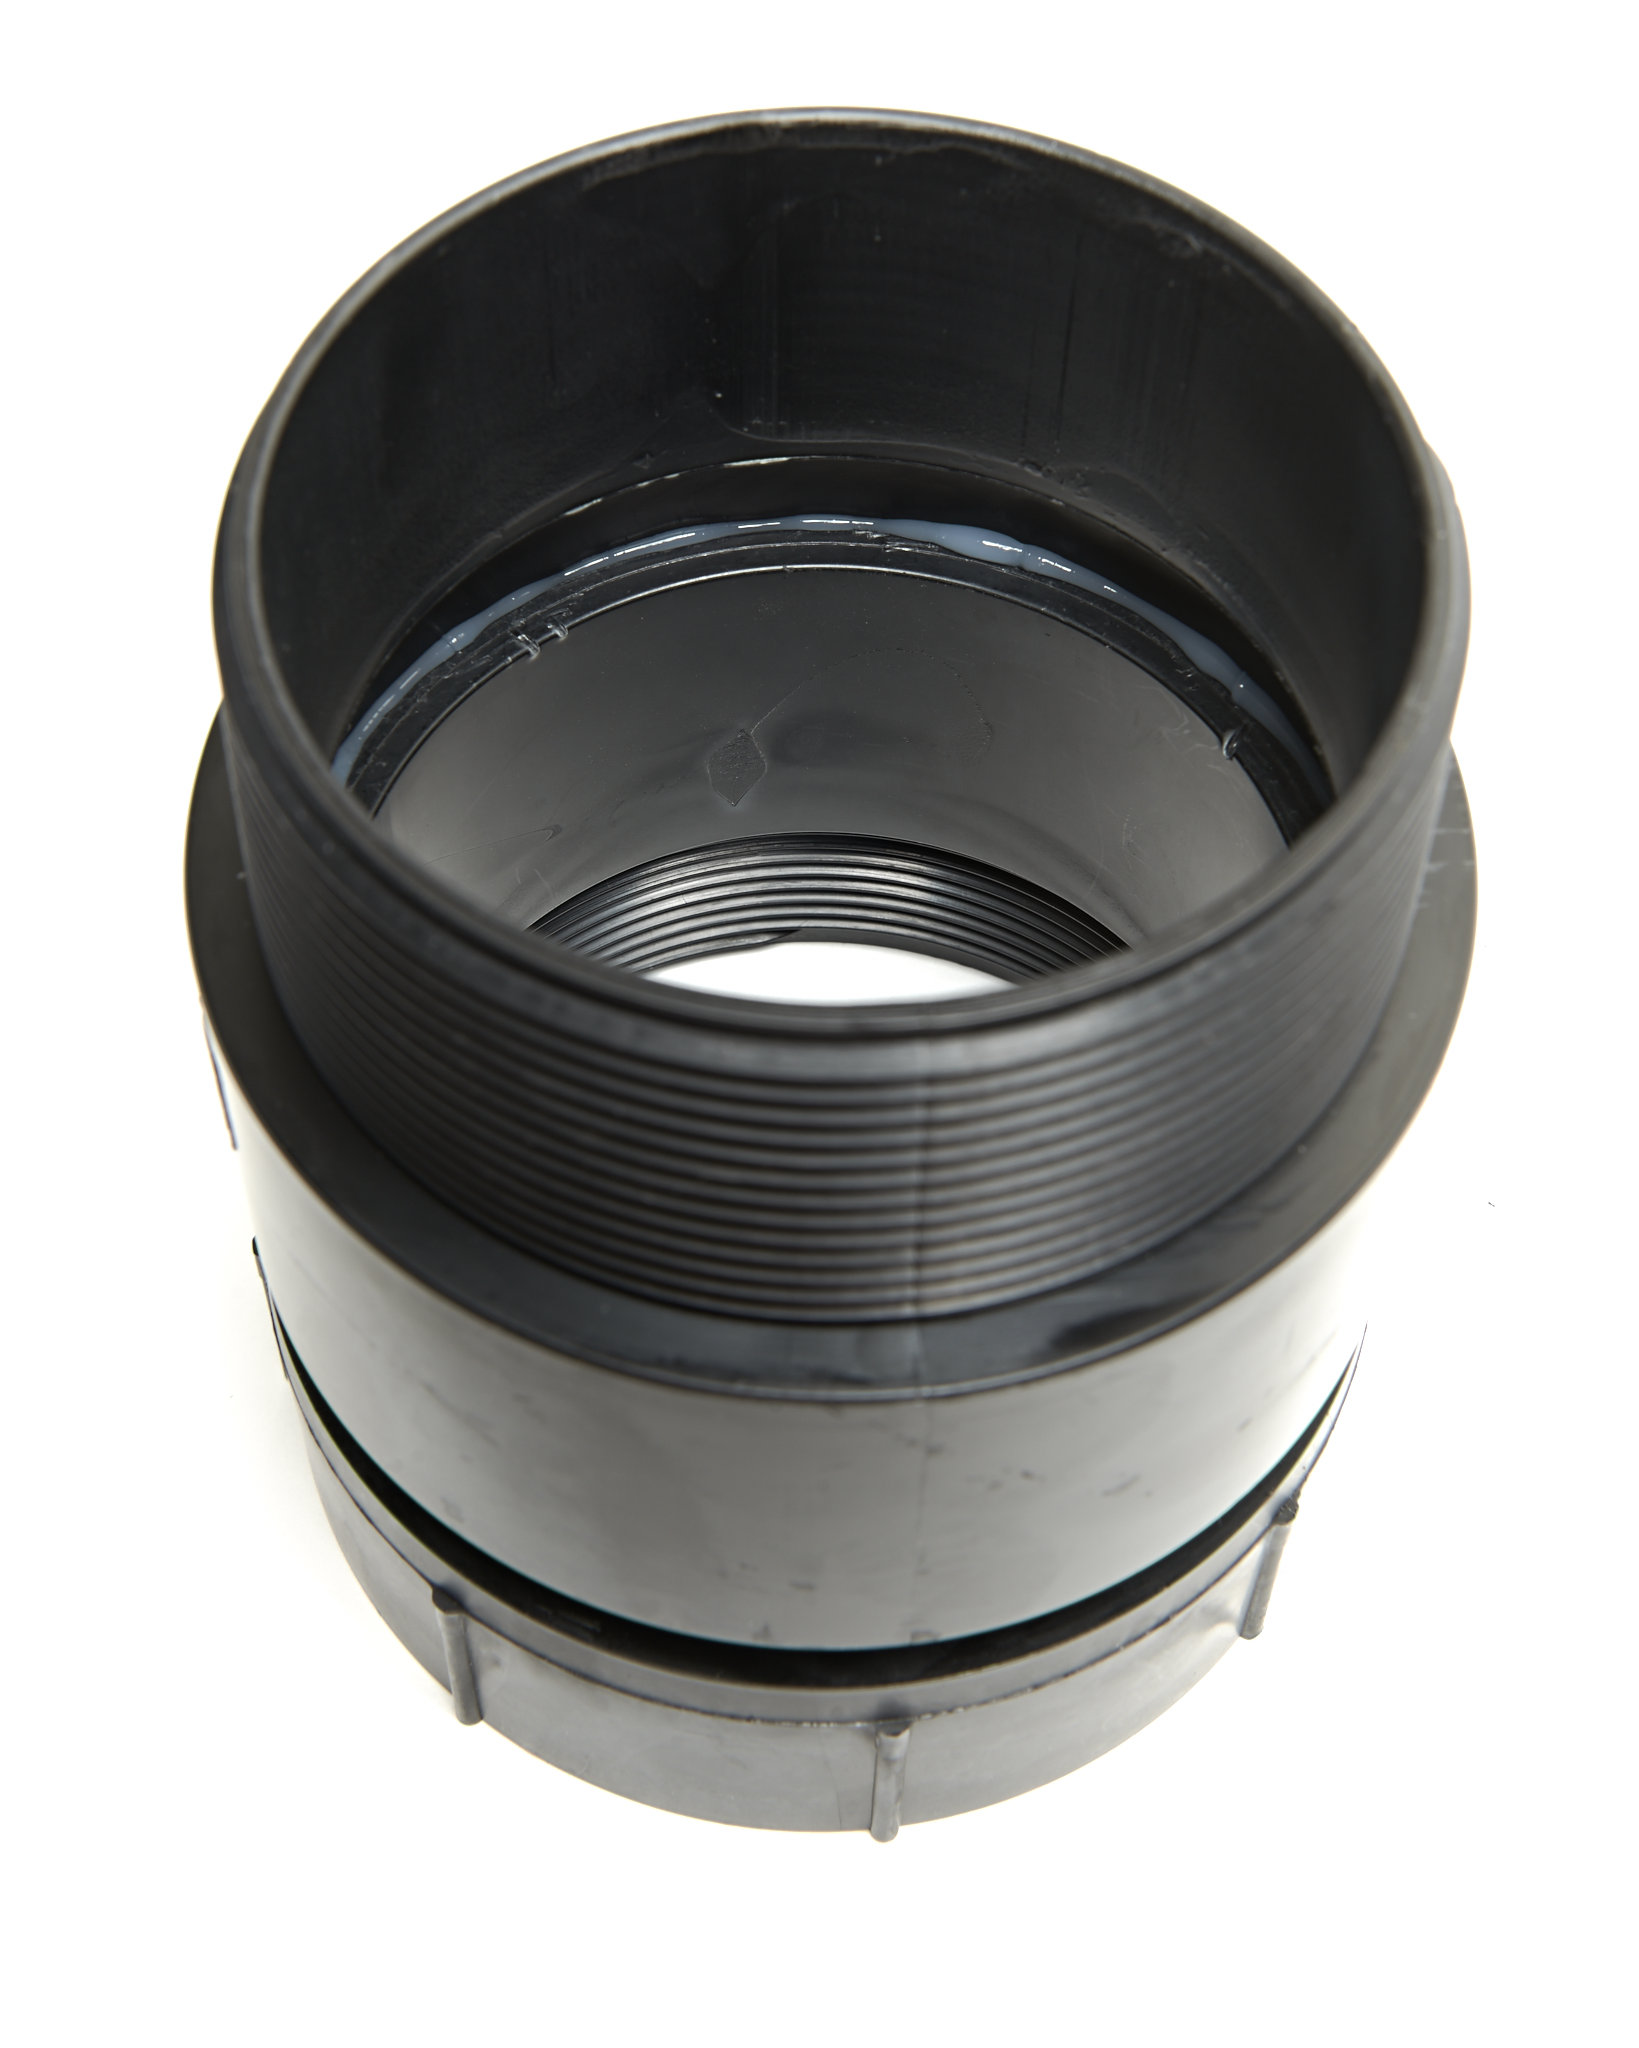
- Added silicone sealant between the PVC pieces that make up the extension tube
-
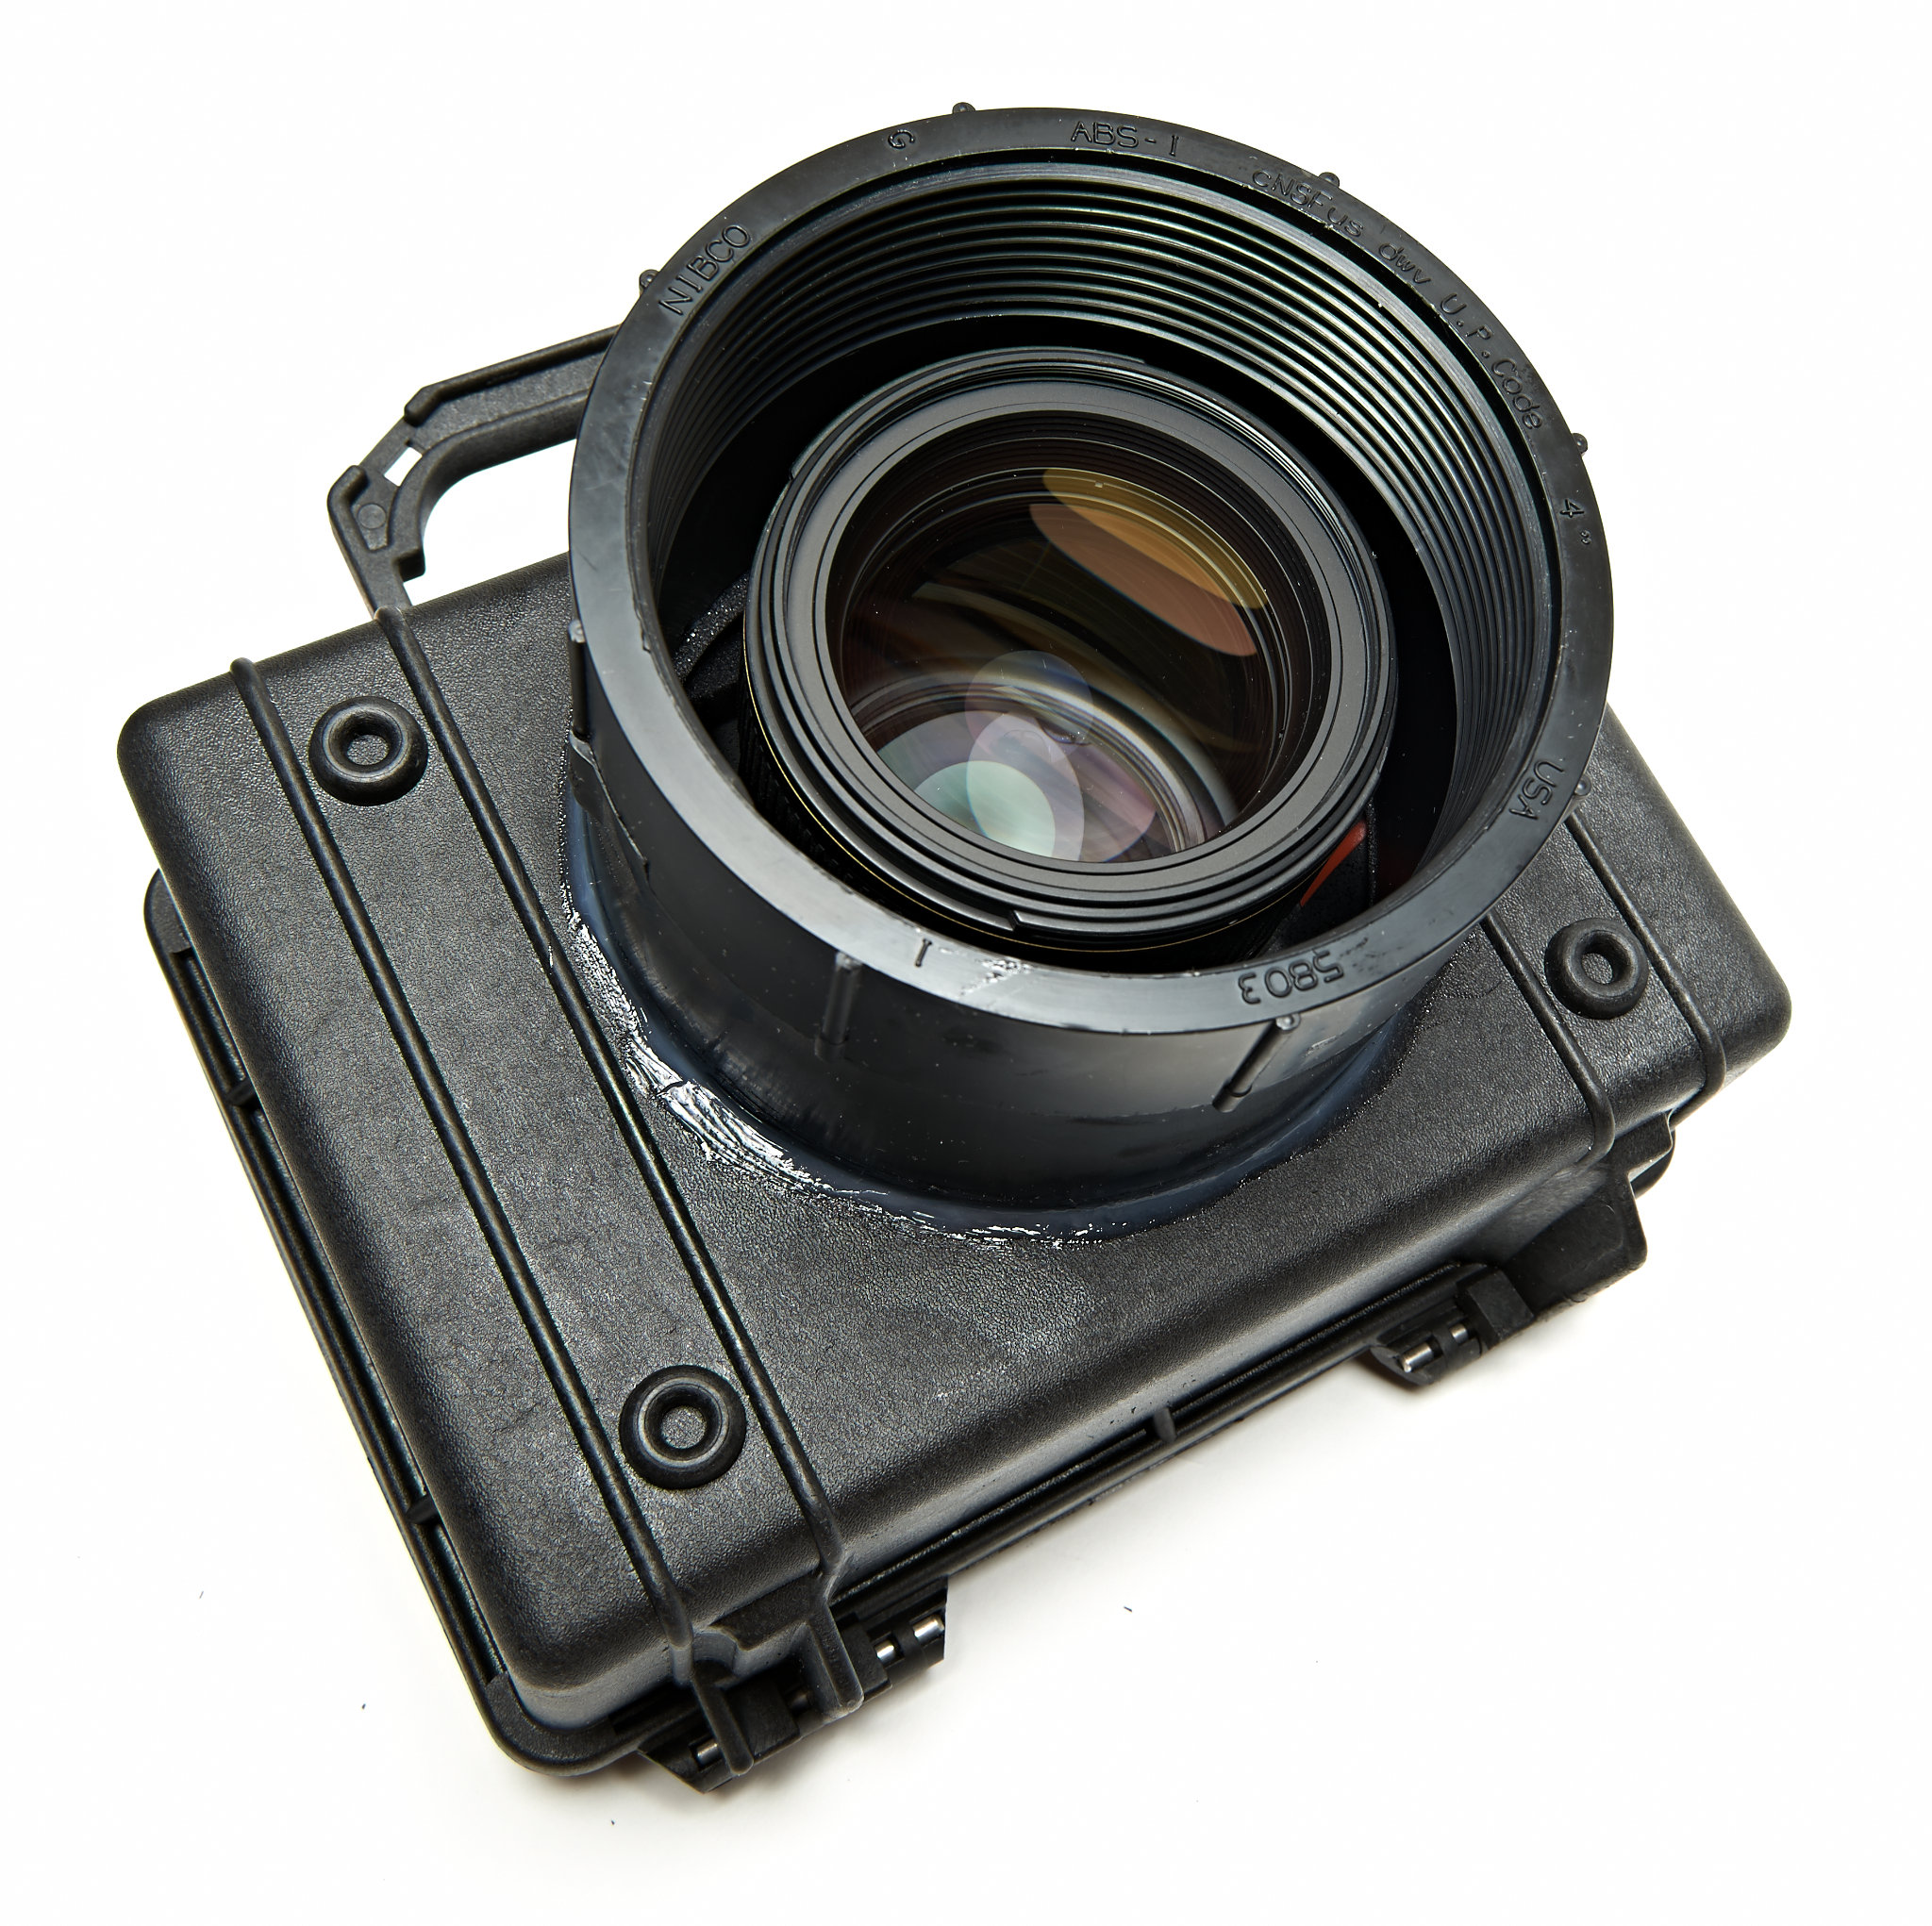
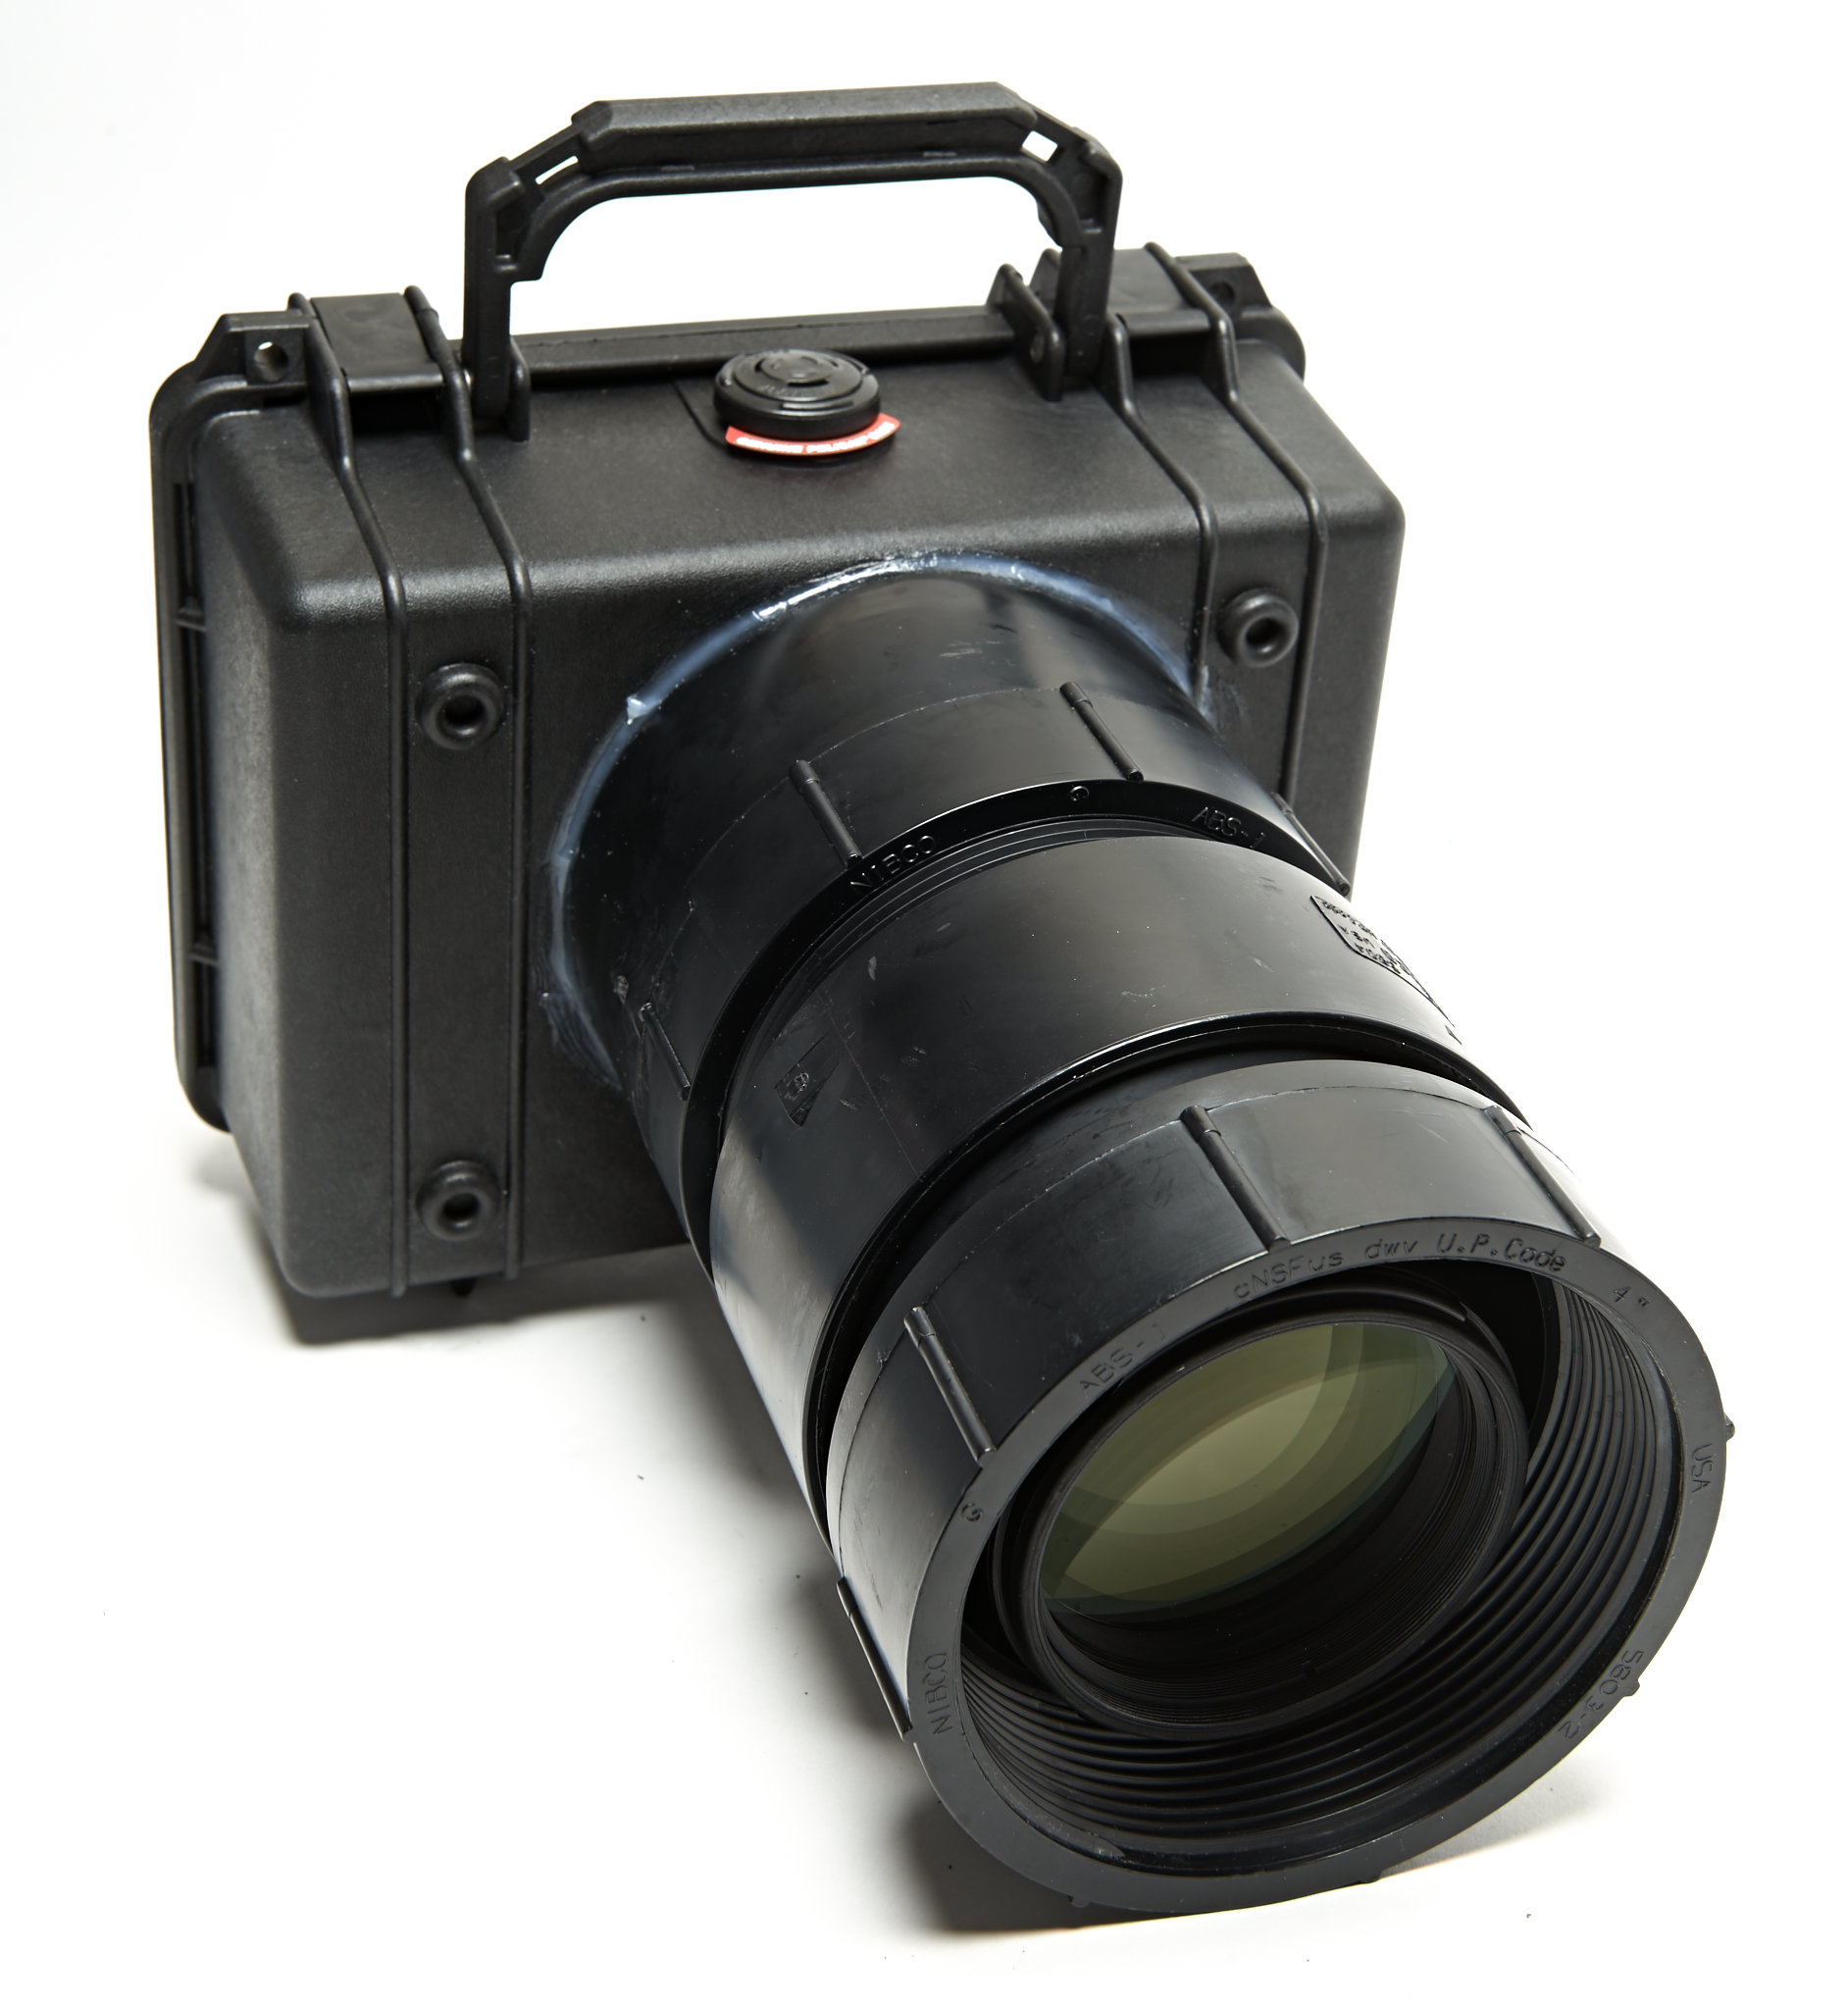
- Test fitting of the extension tube, with 70-200mm telephoto zoom lens
-
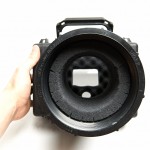
- Front view, with lens tube housing foam cradling the lens, preventing any part of the camera from touching the outer plastic hull
-
- Extension tube fitted, with foam. Used the pick-n-plug leftovers for the tubes
-
- Almost finished! Just need the front lens glass/Lexan porthole